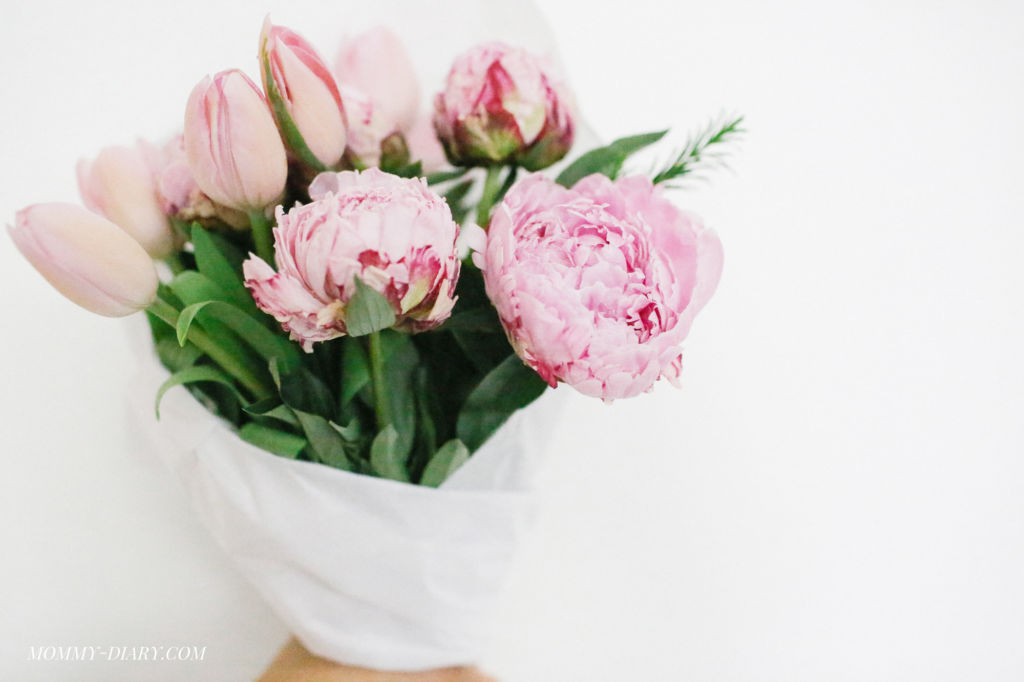
There’s something calming and therapeutic about having fresh flowers around the home. Over time picking up fresh flowers from the local grocery store has become a little tradition that I like to indulge in more and more frequently. It just uplifts my mood and adds a nice focal point in the house. Ugh, I just love it!
Whenever I’m tired or stressed from all my routine motherly duties, I treat myself to a cup of Starbucks iced latte and pretty seasonal flowers for an instant pick-me-up. It makes me feel so good. I definitely recommend it to other mama’s who are looking for something that makes them feel good.
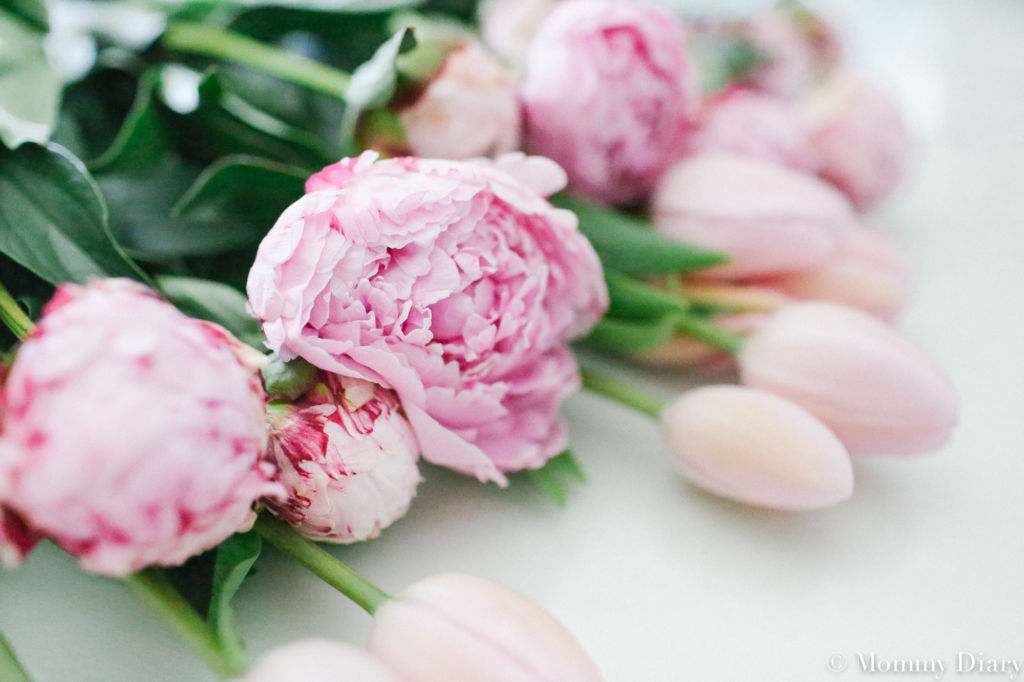
So you can only imagine my delight when I came across these beautiful peonies and tulips at the florist at a local grocery store. What a perfect time to make floral bouquets as gifts! It instantly sparked beautiful bouquet ideas into my head and I was so excited to start creating.
Excitedly I grabbed some peonies and tulips in the prettiest shade of pink (I’ll always have a thing for soft pink) and decided to create homemade floral bouquets for friends. I’m by no means an expert but I love being creative with my hands- and here is how I made them so you can too!
How To Make A Peony and Tulip Bouquet
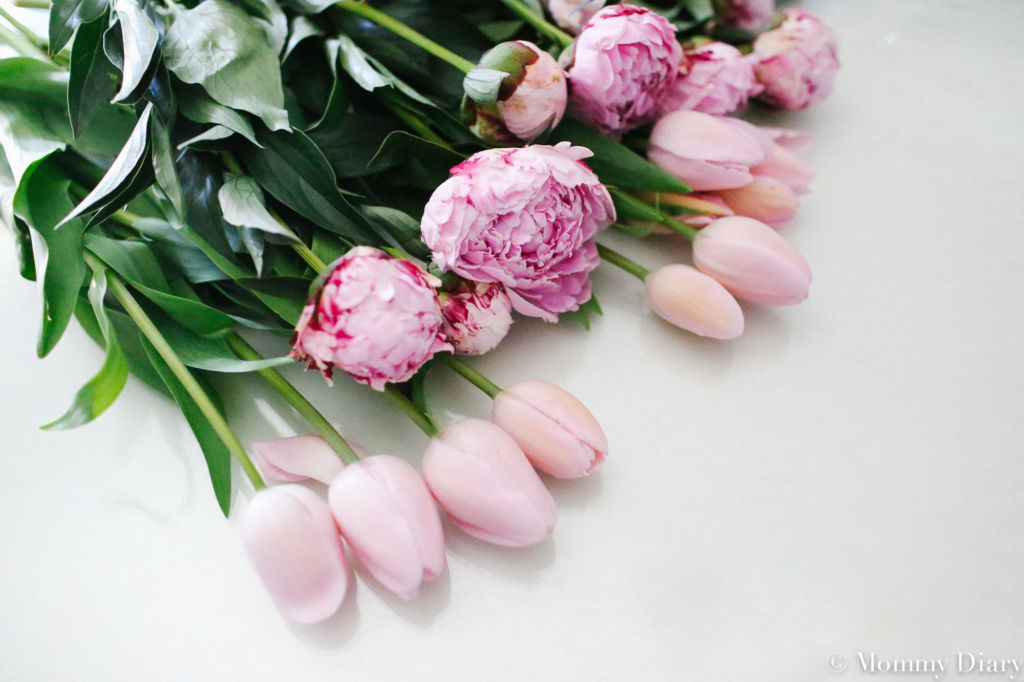
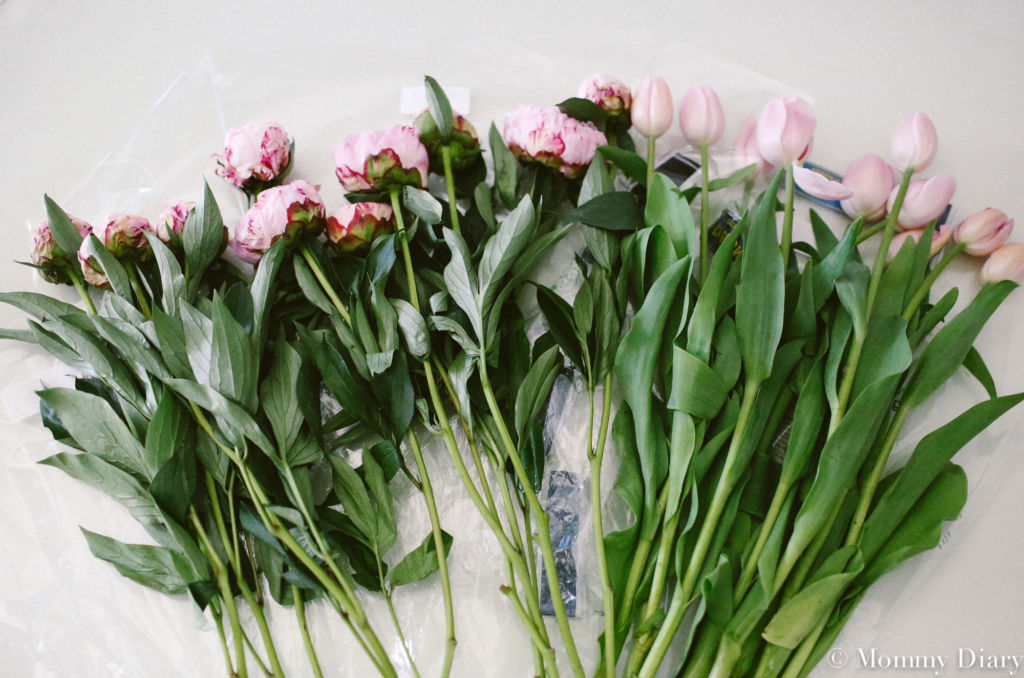
1. Lay out the flowers, clean up, and trim.
These flowers were very fresh so luckily there wasn’t much to trim. I usually trim the bottom diagonally (so it can be soaked in water) and clean up any old or damaged leaves. If there are any double-flowered peonies or double tulips, you’re in luck as they make for an even more unique bouquet. Just make sure you are clipping any potentially dead or brown petals to maintain that fresh look. After all, nobody wants crusty or brown petals in their beautiful bouquet.
2. Gather and rubber band them together.
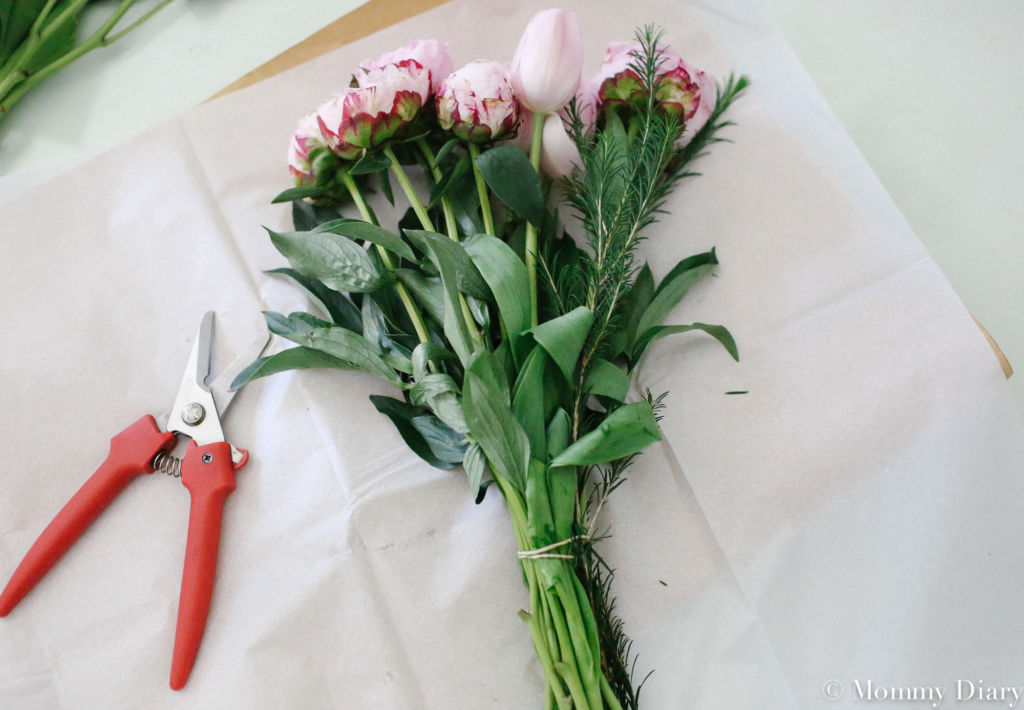
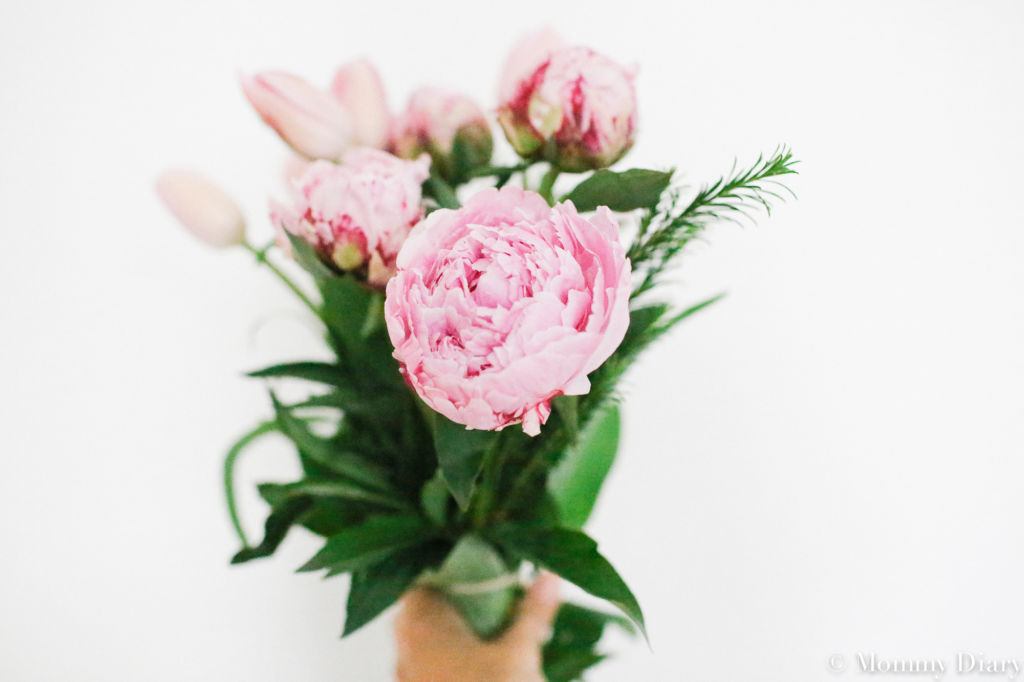
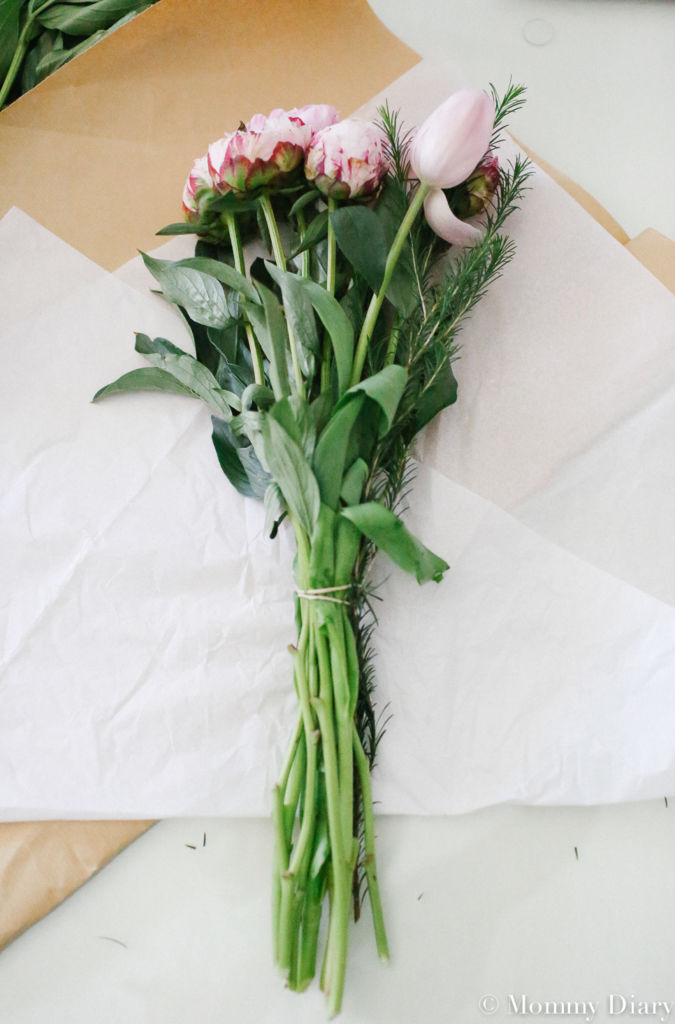
I like to use a rubber band or twine to put my bouquets together. Tine is a good way to make it look a little more rustic but also upmarket. You can use any string, really, depending on the look you’re going for. Wrap them closer to the top of the tulip bulbs so the flowers are secure. Make sure you arrange the flowers at this step. I like to have an accent flower showing (like the biggest blossomed peony) and layer the smaller ones around it and in the back. Be careful not to damage the stem and leaves, otherwise they won’t last as long. If you’re not sure how to go about it, there’s some great YouTube tutorials out there to help you figure out how to put your flowers together nicely.
3. Place your bouquet on wrapping paper.
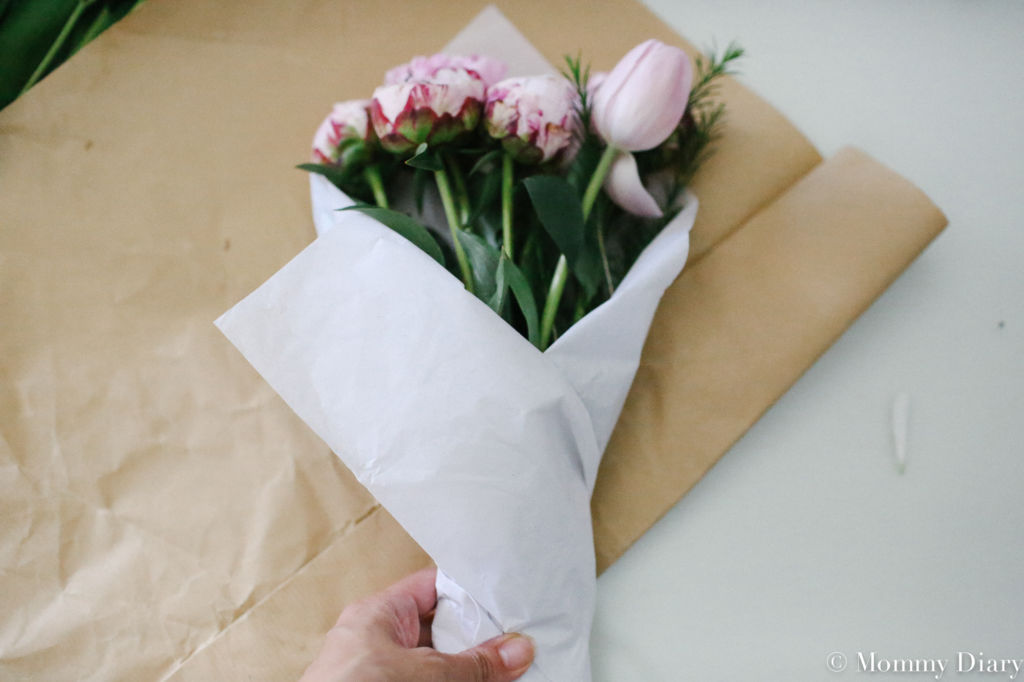
For this bouquet, I used two layers of paper: kraft paper and white tissue paper. I left the bottom part uncovered so I can keep it in a vase until it was time to give it to the recipient. I think it adds a super nice look to it. Don’t ya think?
4. Wrap the Paper diagonally and fold the bottom part if you want to leave the ends open.
There are many ways to do this but this worked best for me. I feel like any other way can be a bit of a pain. This way was simple and still looked really good. To start, I just placed the paper diagonally (like a diamond shape), folded it over the lower right bottom a few times to expose the ends of the stem, and began wrapping around the flowers. It’s pretty user-friendly.
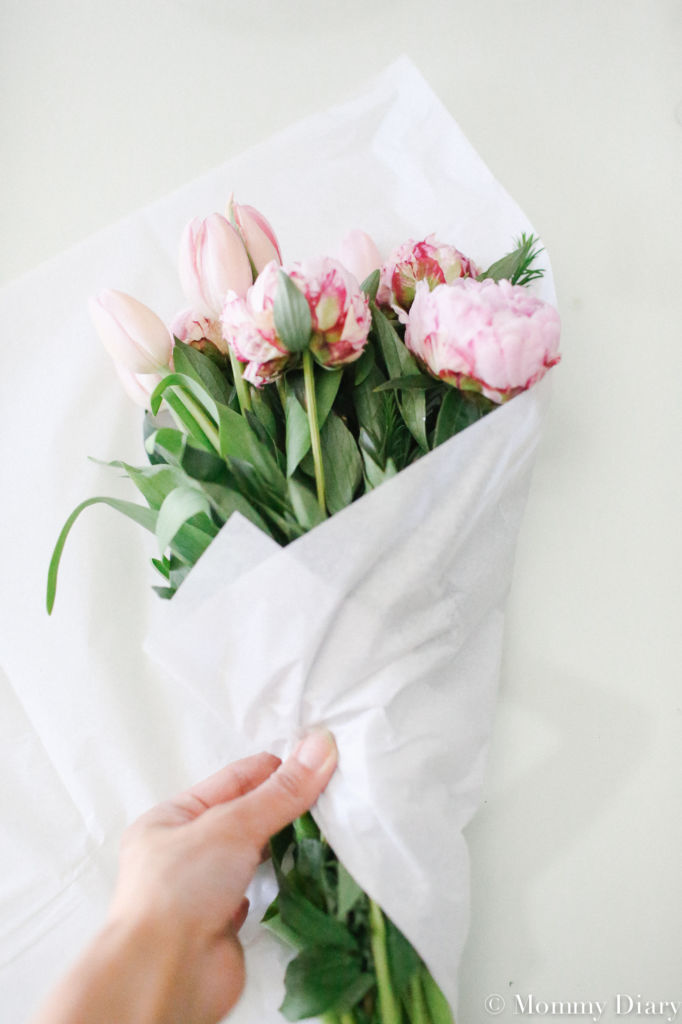
Then you should wrap with tissue paper, tie with twine or ribbon, then wrap another layer of kraft paper (newspaper or any paper of your choice.) Make sure the last layer is a little lower so the white tissue paper shows. This step is super important to make sure it stays together and it stays together well.
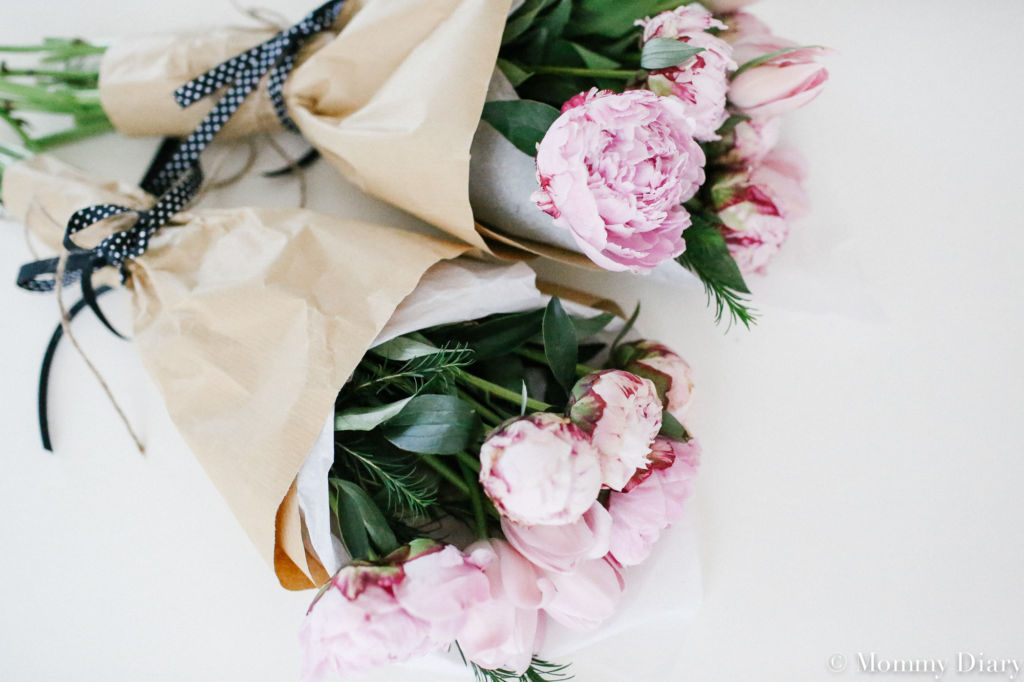
5. Tie it with a ribbon of your choice and you’re done!
For this flower bouquet, I used twine, then a black ribbon. I think it turned out so well. I couldn’t be happier with it!
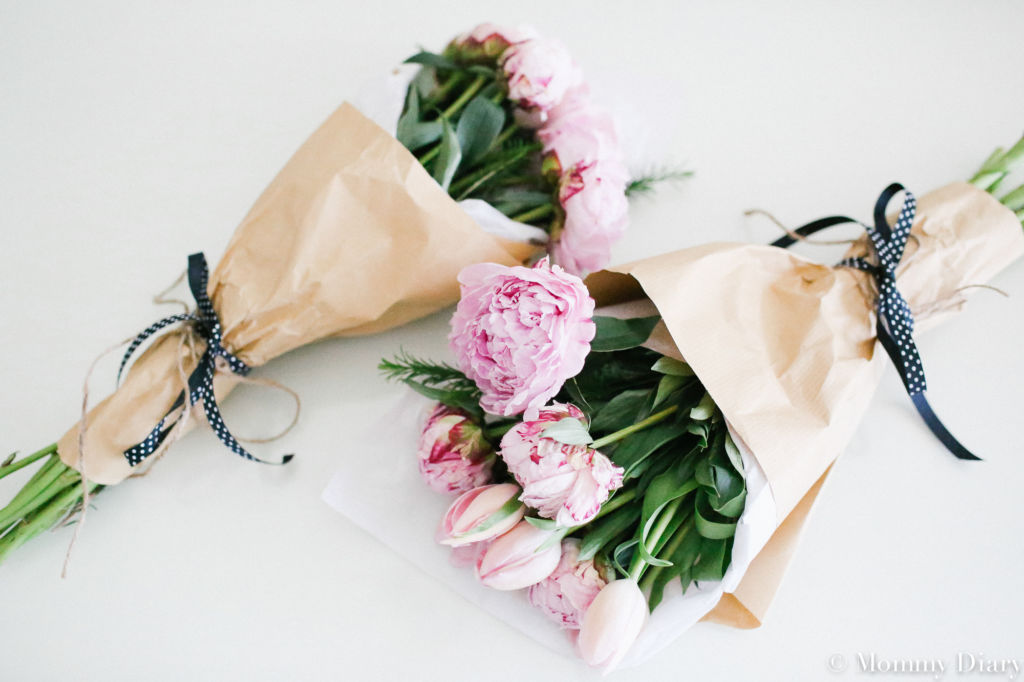
And BOOM, you’re done! It turned out beautifully and I hope my friends enjoyed the homemade peony + tulip bouquet. I think this bouquet is that much more special because of its rare flowers and pretty colors.
Peonies are in season- why not grab a bunch and make a bouquet for that special person in your life?
Tulip Flower Arrangement Ideas
- Minimalist – white bulbs paired with some added greenery
- Bold – an assortment of brightly colored tulips
- Fall Inspired – tulips with hard colors such as blue and purple
- Spring Inspired – an assortment of pink, white, and yellow tulips
- Exotic – an assortment of multi-colored Parrot tulips
- Standout Texture – fringed tulips that have a unique texture
- Romantic – soft pink and lavender tulips with delicate lace or sweet ribbon accents
- Monochromatic – lots of different shades of a single color (e.g., all red, all yellow)
- Rustic – tulips mixed with dried grasses, wheat, or pampas grass
- Tropical – bold, bright tulips with palm leaves or tropical greenery
- Vintage – pastel tulips paired with baby’s breath or other vintage flowers
- Textured Contrast – smooth tulips paired with spiky flowers (like thistles or protea)
Peony + Rose Bouquet
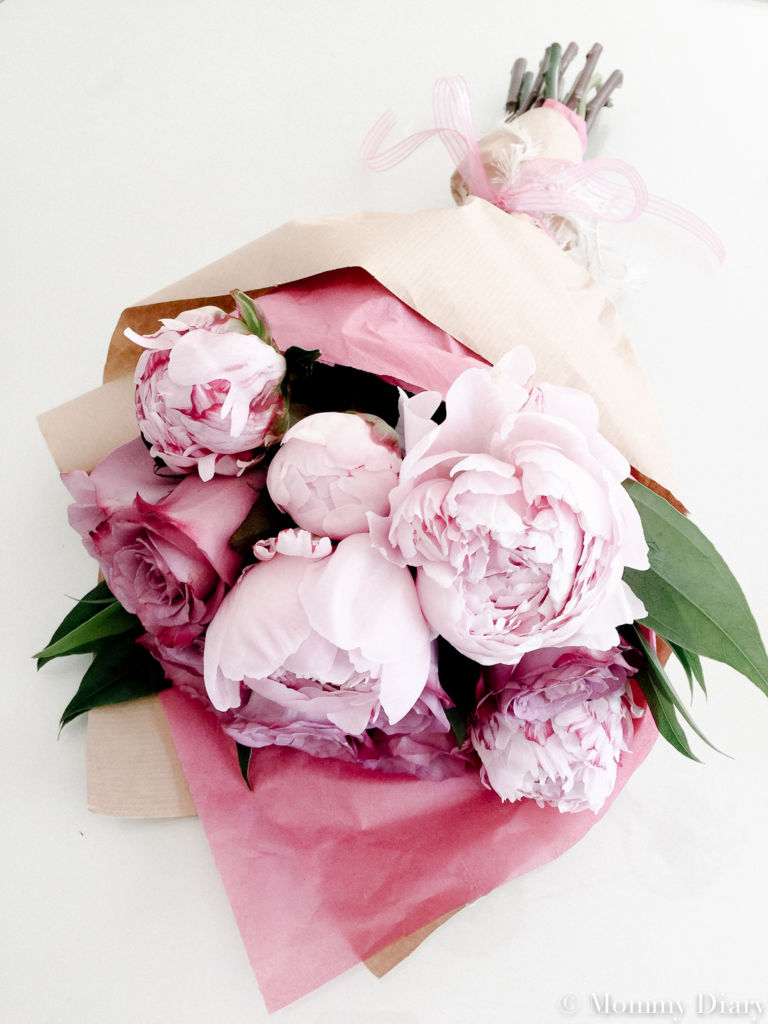
You can make beautiful peony + rose bouquets too by using the same method that I’ve outlined above for you. I made this one for my mother-in-law for her wedding anniversary and she absolutely loved it. I swear she has NEVER stopped speaking about it.
As you can see, I used different colored tissue paper and ribbon. You can be creative and try various color combinations. Don’t be afraid to test out your creativity.
If you enjoyed this post, please share it on Pinterest by clicking the photo below! It’s definitely something you want to share around! After all, everyone loves receiving flower gifts. I actually think flowers are one of the best possible gifts you can give.
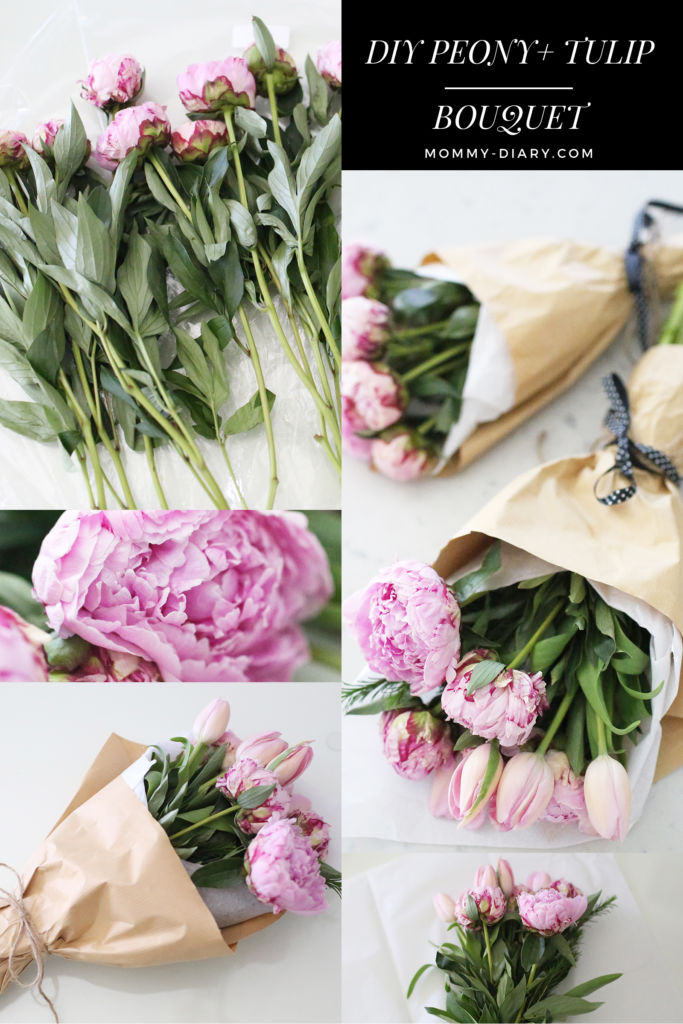


The best two types of flowers I can think of!!! Swoon!!
I love peony season! They seem to be everywhere nowadays, for a good reason! 😉
Beautiful. Love that you were able to find them with the same color hues.