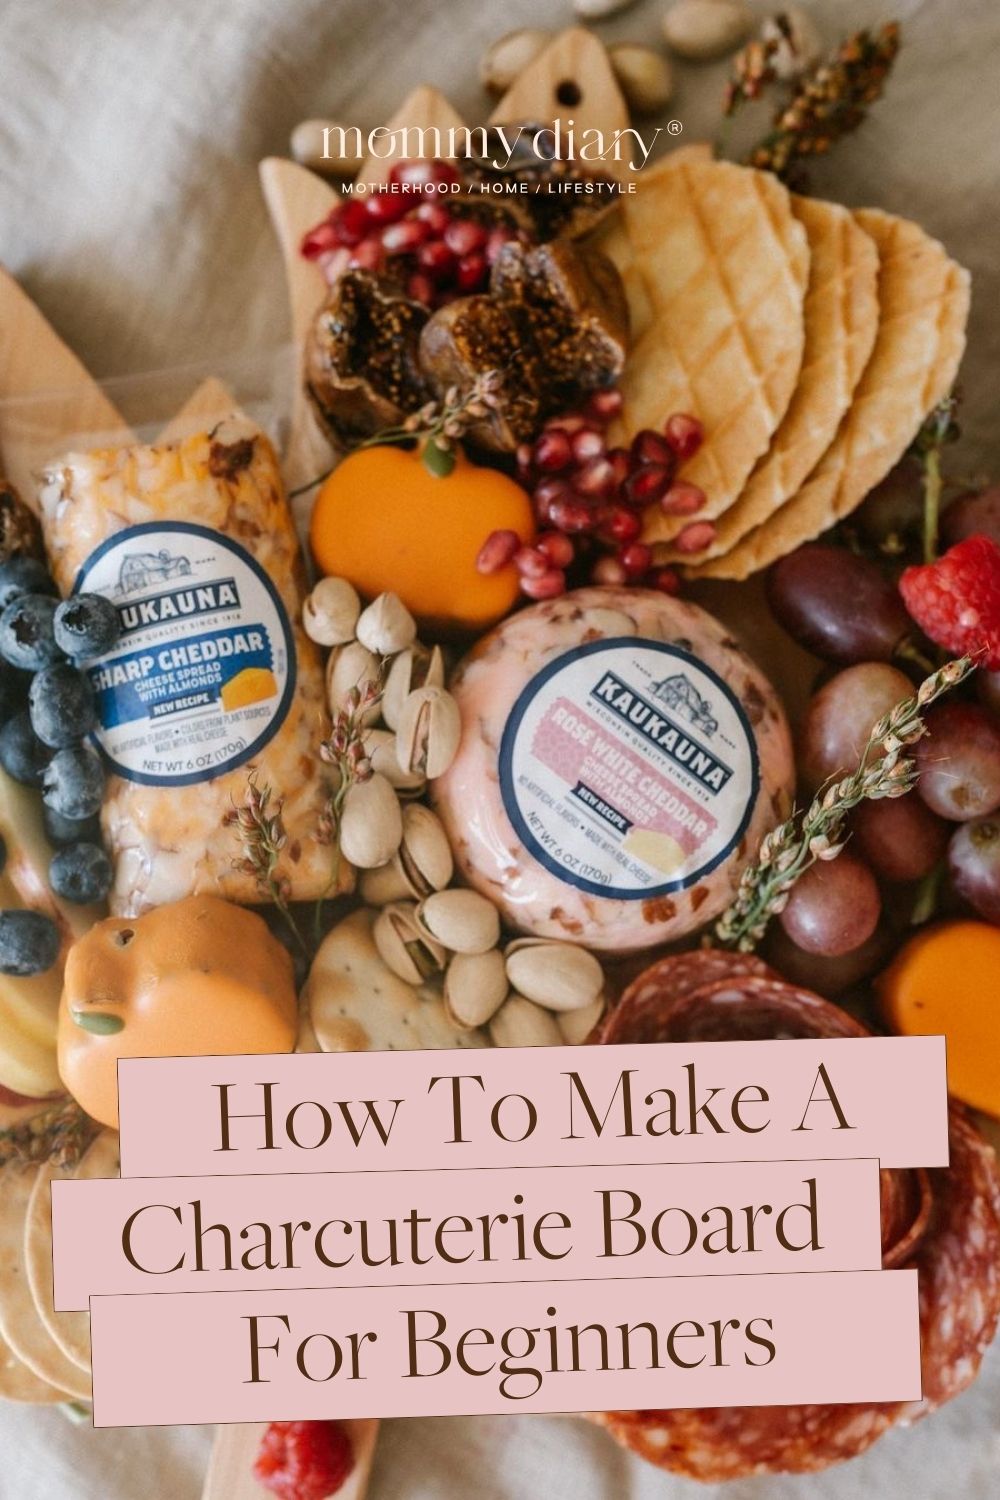
Whether you’re looking for backyard BBQ food ideas or something elegant to serve at a wedding shower, a charcuterie board is the perfect appetizer. Not only does a charcuterie board provide several different options, but it also doubles as a beautiful centerpiece for all types of get-togethers and events.
Traditionally, charcuterie (pronounced shahr-KOO-tuh-ree) refers to cured meats and spreads, but these days it’s typically used to describe an assortment of various types of meat and cheese, as well as spreads, fresh and dried fruits, and more. A charcuterie board made with cured meats, cheeses, and other items is sometimes called a meat and cheese board to reflect its offerings more accurately.
They might look complicated at first glance, but charcuterie boards are surprisingly easy to put together. If you’ve never made one, you’ve come to the right place. Today, I’m sharing a guide on how to make a simple charcuterie board for beginners.

How To Make A Charcuterie Board For Beginners
Ingredients
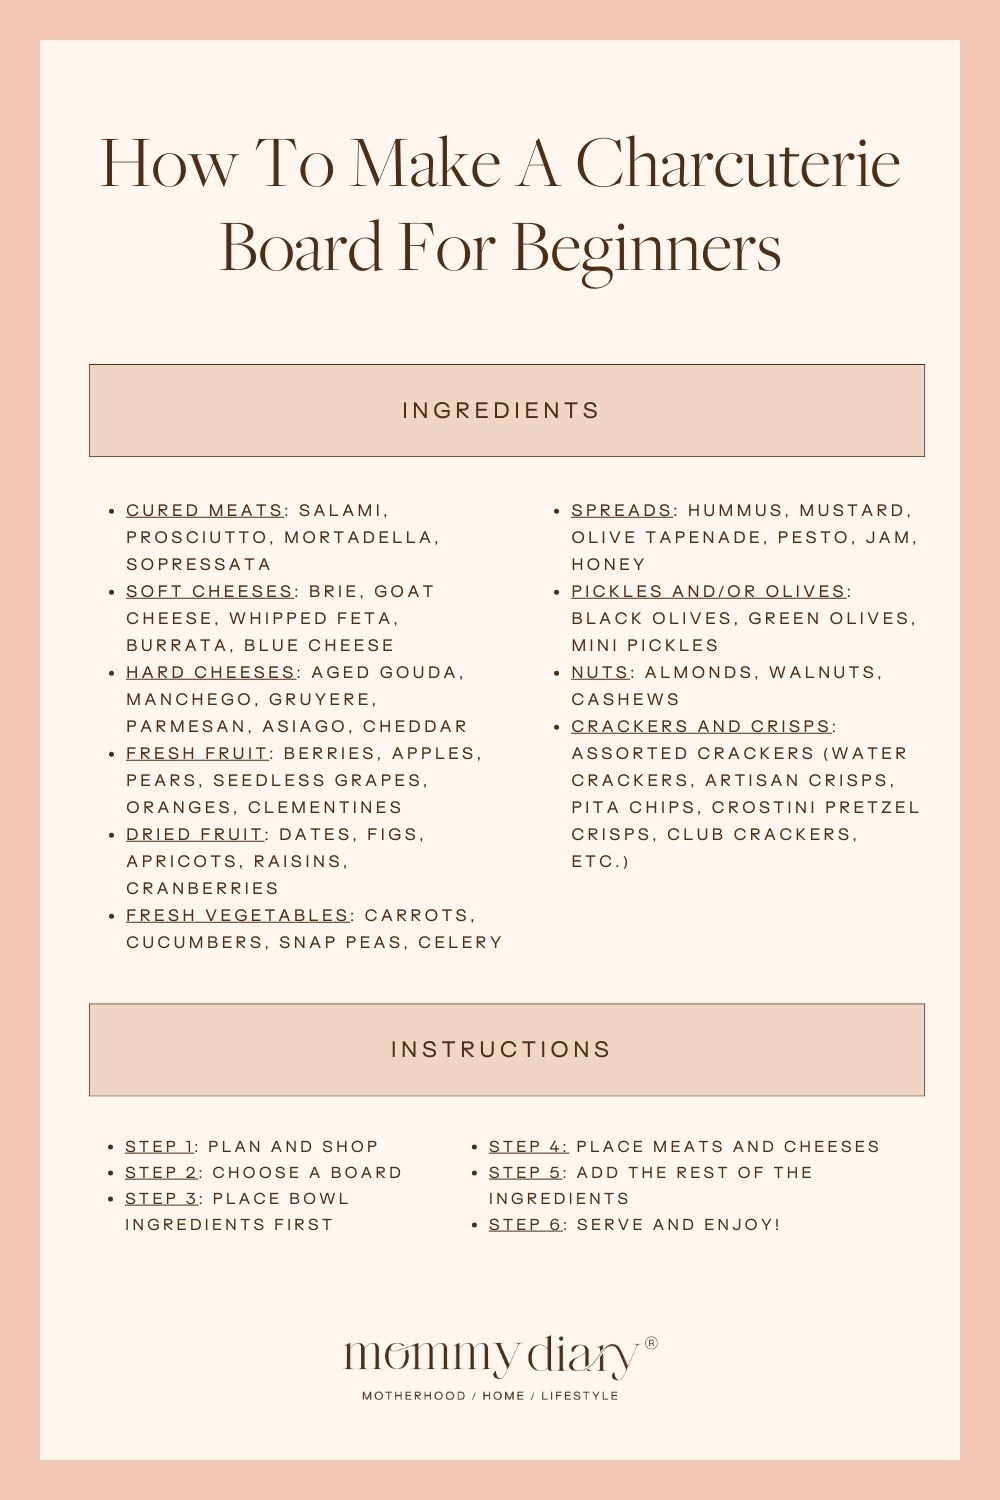
- Cured meats: salami, prosciutto, mortadella, sopressata
- Soft cheeses: brie, goat cheese, whipped feta, burrata, blue cheese
- Hard cheeses: aged gouda, manchego, gruyere, parmesan, asiago, cheddar
- Fresh fruit: berries, apples, pears, seedless grapes, oranges, clementines
- Dried fruit: dates, figs, apricots, raisins, cranberries
- Fresh vegetables: carrots, cucumbers, snap peas, celery
- Spreads: hummus, mustard, olive tapenade, pesto, jam, honey
- Pickles and/or olives: black olives, green olives, mini pickles
- Nuts: almonds, walnuts, cashews
- Crackers and crisps: assorted crackers (water crackers, artisan crisps, pita chips, crostini pretzel crisps, club crackers, etc.)
How To Make A Charcuterie Board Step-by-Step
Step 1: Plan and Shop
When making a charcuterie board, I typically shop for most of my ingredients at Trader Joe’s. They have such a wide variety of options that I can usually get everything I need in one trip. As you shop for ingredients, consider how many people you’re serving. I usually start with 2-3 types of meat and 3-4 types of cheese (about 8 to 12 ounces of each one). Then I grab whatever other ingredients I don’t already have at home.
Step 2: Choose A Board
Any flat surface can be used as a charcuterie board, so don’t feel like you need to splurge on a fancy cutting board or platter. Use what you have on hand unless you want to buy something new.
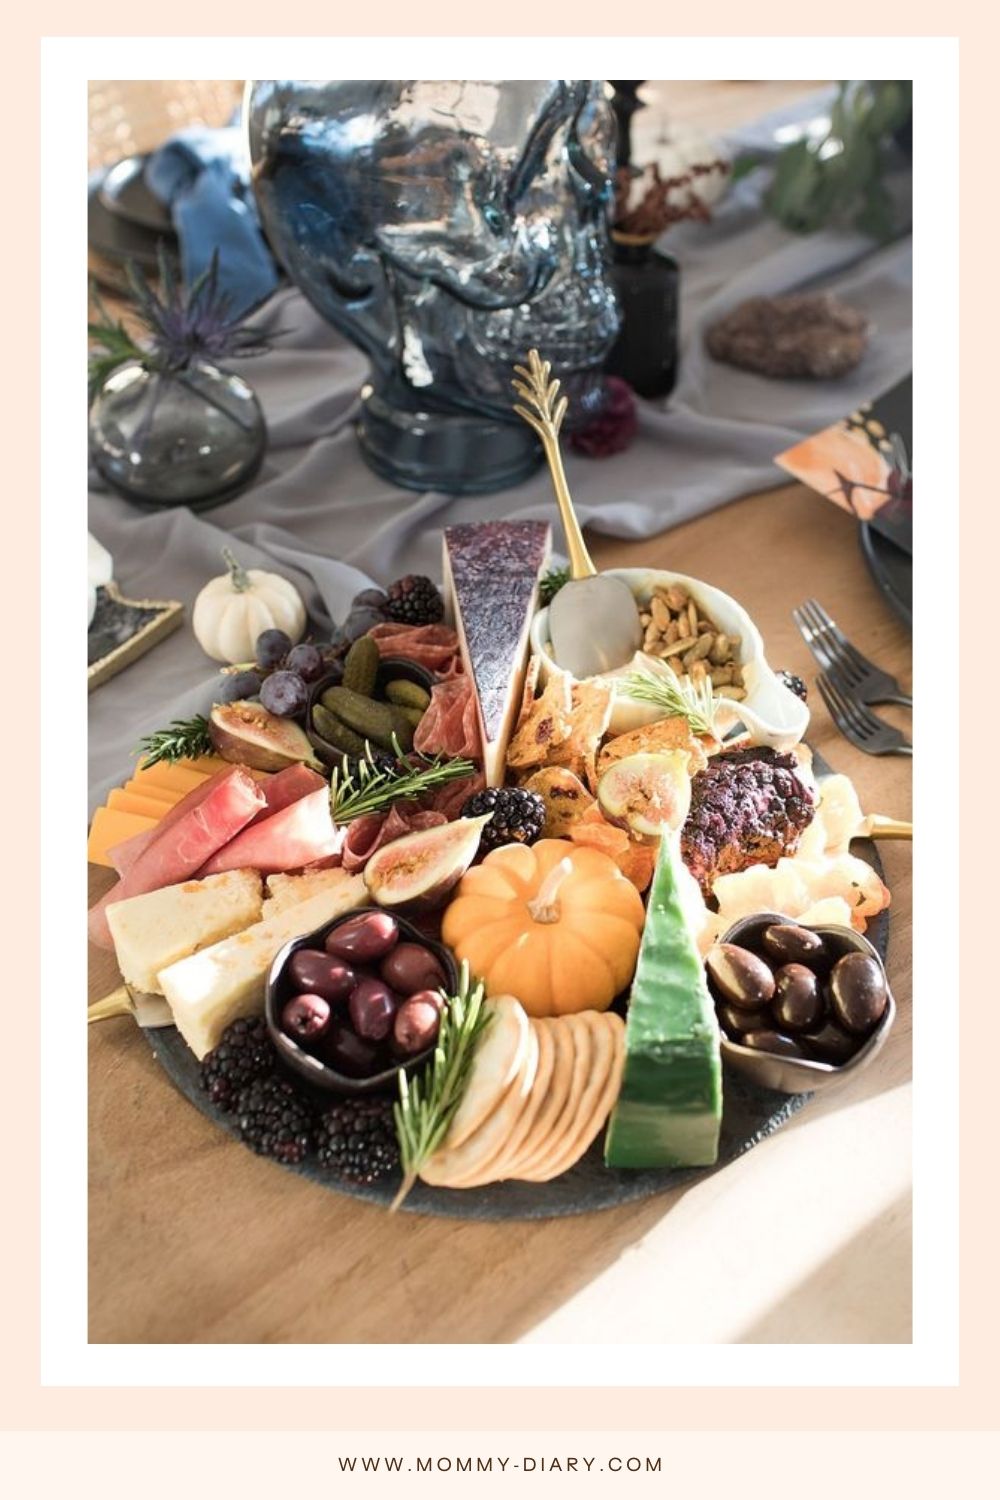
I used this round slate board for my fall charcuterie board. For my Valentine’s Day sweet charcuterie board, I wanted to mix things up so I used a white cake stand. Feel free to use a classic wooden cutting board, baking sheet, or even a large plate.
Step 3: Place Bowl Ingredients First
Fill small bowls or ramekins with the dips, spreads, and other ingredients that need to be contained. For aesthetic purposes, I like to fill each small dish with the ingredients, leaving just enough room to avoid spillage when serving. Then, add condiment spoons or forks for easy serving.
Step 4: Place Meats And Cheeses
Prepare the cheeses as needed (slice, crumble, etc.), then about 30 minutes before serving, place them on your board. This will give the cheese enough time to rest to bring out the most flavor. You can arrange all of the cheeses next to each other, or separate them and place them around the board.
Feel free to get as creative as you want with how you display the meats. Sliced meats can be folded, rolled, or even layered to look like a rose to make them easier to pick up. Plus, it adds a touch of elegance to your board, but again, it’s not necessary for a great-looking charcuterie board.
Step 5: Add The Rest Of The Ingredients
Add the rest of the ingredients to fill the spaces left on your board. Move things around as needed to make everything fit and achieve the look you’re going for.
I recommend keeping everything covered until you’re ready to serve the charcuterie board. This will keep your ingredients from drying out and preserve flavor and texture.
Step 6: Serve And Enjoy!
Once your ingredients are in place, serve the charcuterie board. Of course, there’s nothing wrong with diving in using your hands as utensils, but if you’re serving guests you might consider offering small plates, napkins, and toothpicks.
A simple charcuterie board is the perfect appetizer or snack for any occasion.
At first glance, charcuterie boards often look like complex arrangements, professionally crafted to impress guests for any occasion. But they’re surprisingly easy to put together! With a little planning, you can make a simple charcuterie board that will wow your guests.
For more tips on entertaining, as well as easy-to-follow recipes and, of course, all things motherhood, head over to the blog.
