 It’s been exactly one month since we’ve moved into our new home and boy, it was the most emotionally, physically and mentally draining month we’ve had in a long time. We spent about one week without a kitchen, which meant eating out every meal (I don’t know how others do this, my body needs homemade meals at least every other day), then spent the next 2-3 weeks with construction workers constantly in and out of the house.
The hardest part during the renovation process was the dust, the nonstop noise, and lack of privacy you feel in your own home. There were boxes and floor coverings everywhere and dust all over the room no matter how many times I cleaned. I learned how hard it is to find inner peace when my physical body is surrounded by so much noise and chaos and it was definitely a real life test of patience and waiting….and more waiting.
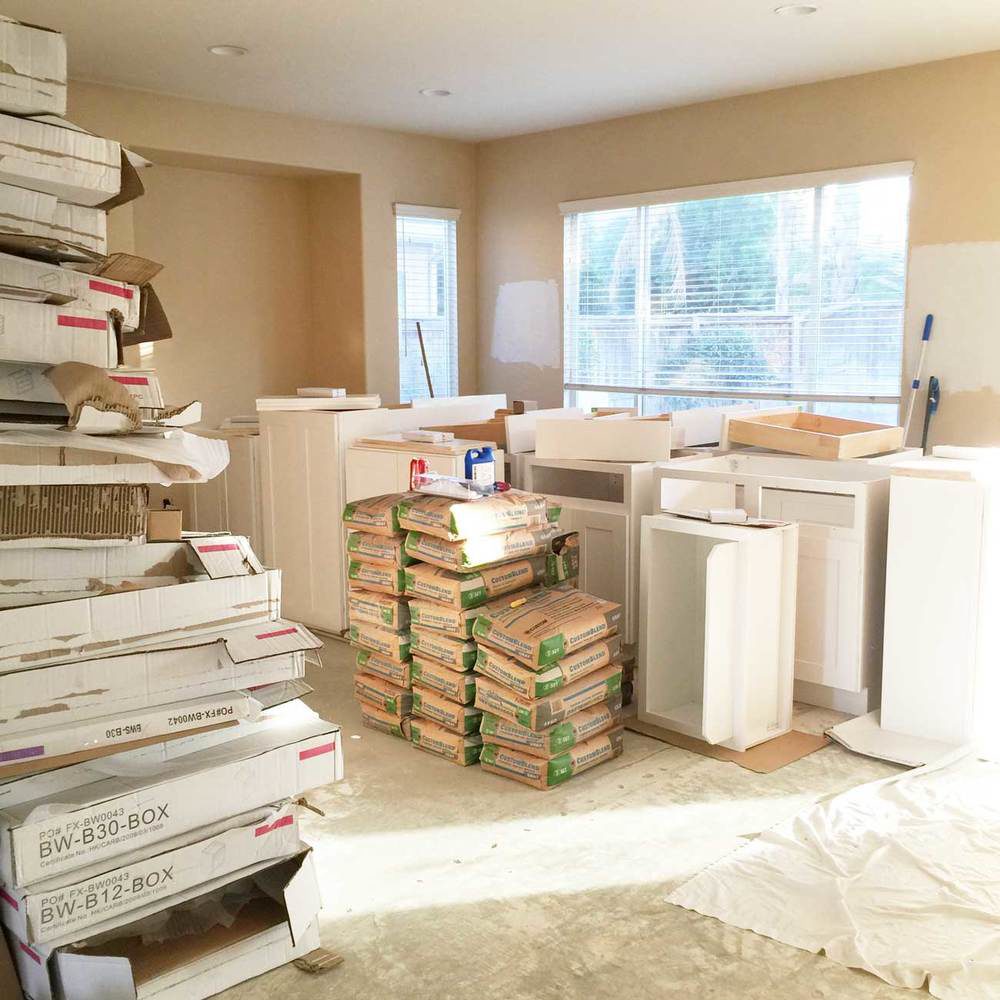
In case you think I’m whining like a baby for no reason, here is a picture of how our livingroom looked a month ago. Trust me, it was bad. First world problems, I know. But it was really bad while it lasted.
Currently we are taking a much needed temporary break from it all– and this is the first week I’m doing something other than unpacking, cleaning and organizing. So here it is, my first progress blog post about the recent home remodel. We still have more work to do but for now, it’s time to take a breather and share with you what we’ve been up to.
*Disclaimer: I’m not a design expert. What follows are my personal opinions and experiences based on DIY design choices. I didn’t hire a designer and hired individual contractors to cut cost.
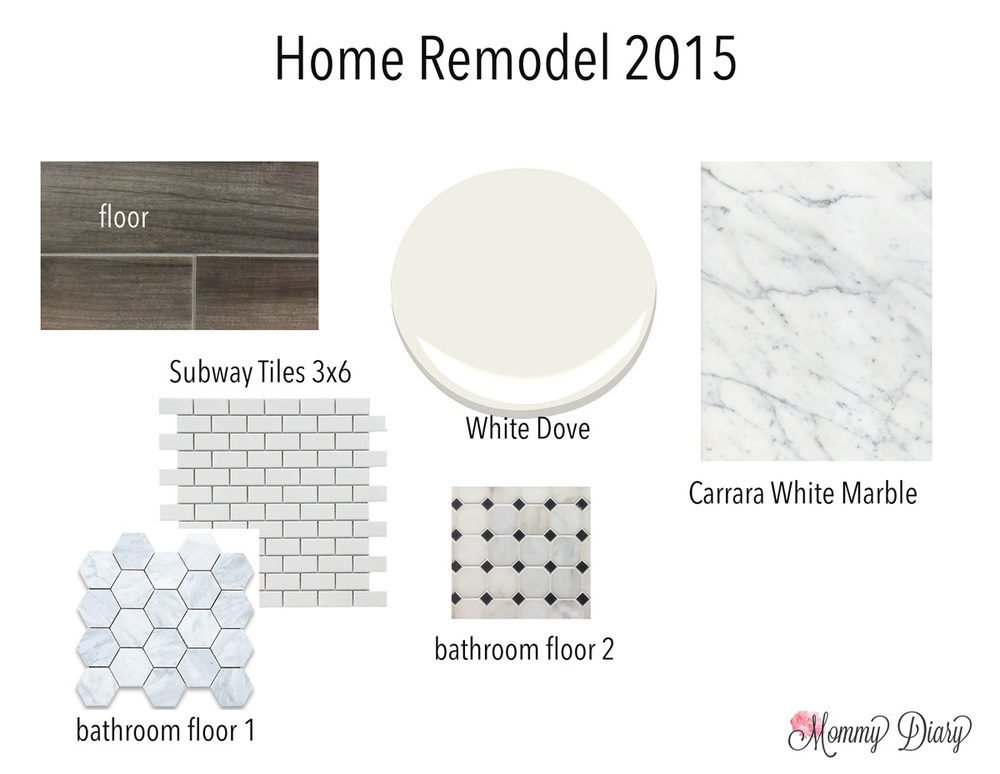
First, here are the main materials I used for the home.
Overall Style: Transitional + Contemporary
I wanted to create a classic color palette that can accommodate various styles and colors. I’m also a very neutral palette type of gal and prefer earthy tones such as white, beige, gray and brown. I would define my style as transitional + contemporary, which nods to the classics with some room for creativity and individuality.
These days I love the all-white Scandinavian look but realized my love for European (Victorian, Parisian & British) decor will never work with that modern, museum look. I think I fall somewhere in the middle, and am still discovering how I can incorporate my love for classics with more modern sleek lines.
1. Downstairs Floor: Porcelain Tile
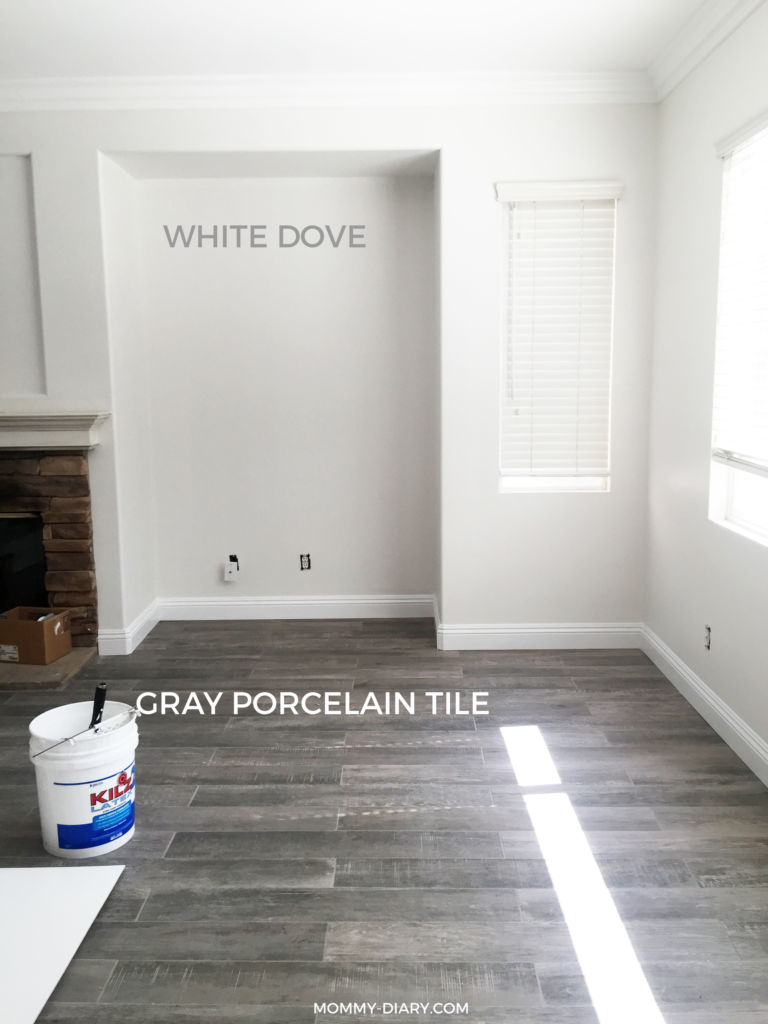
We chose 3×36 porcelain tile in a color called “Palmetto Smoke”. It’s grayish color with tinge of warm beige undertones. Very restoration hardware, if you know what I mean. We chose porcelain tile for its durability and kid & pet-friendliness. It’s easy to clean and maintain with little chances of nicks and marks. After having both real wood and stone flooring, we are happy with this choice. So far, we love it.
2. Wall paint: Benjamin Moore’s White Dove
After weeks of agonizing over different shades of white, I finally settled with Benjamin Moore’s White Dove. I never knew how hard it is to choose the right shade of white as white can look very different under various lighting conditions and time of day. You can read more about my experience here.
I was tempted to go really white throughout the whole house but chickened out and decided on a warmer white. White Dove is a color used by many decorators with mixed reviews. Some say it’s too yellow, some say too gray while others think it’s the perfect shade of warm white.
I’m in the latter camp–and White Dove really speaks to me in this home. It’s truly a versatile color much like the edgecomb gray used in my previous home, meaning it changes colors throughout the day.
Sometimes it looks white, sometimes it looks cream and sometimes it looks light gray. I personally like the fact that it doesn’t look true white all the time, as I worry white might feel too sterile and cold in an everyday environment.
Few words of advice regarding wall paint color:
1) Be sure to try it on different parts of the house and look at it during different times of the day. Do not rush because paint color throughout the whole house is difficult to fix once it’s up.
2) Research and read other people’s reviews- but make the final decision based on your gut feeling. Paint color is not a one-size-fits-all and a color another person swears by might be totally wrong for your own home. So trust your intuition first and foremost.
3) When in doubt, choose warm over cold hues as warm will always feel cozier for a family home.
3. Bathroom Materials: Carrara white marble + subway tiles
Bathroom floor 1: Honeycomb carrara white marble
Bathroom floor 2: Greecian White 2″ Octagon Marble mosaic tile
Bathroom 1 & 2 walls: White ceramic subway tile (3×6)
Master bath: Carrara white marble everywhere wall to floor
As you can see, I used a lot of carrara white marble throughout the home in various textures and shapes. I just love its freshness and classic look. Another good choice is the arabescato venato marble which is whiter than the carrara white which sometimes takes a grayish hue. I chose Italian-made carrara white over china-made arabescato but both are good choices.
Kids’ bathroom in progress
Here is a picture of my kids’ bathroom in progress. We still have to finish the trim but I love the way subway tiles & carrara white honeycomb tiles look together. I wish the soap box was bigger (a beginner’s mistake) but overall, I love the way it’s turning out.
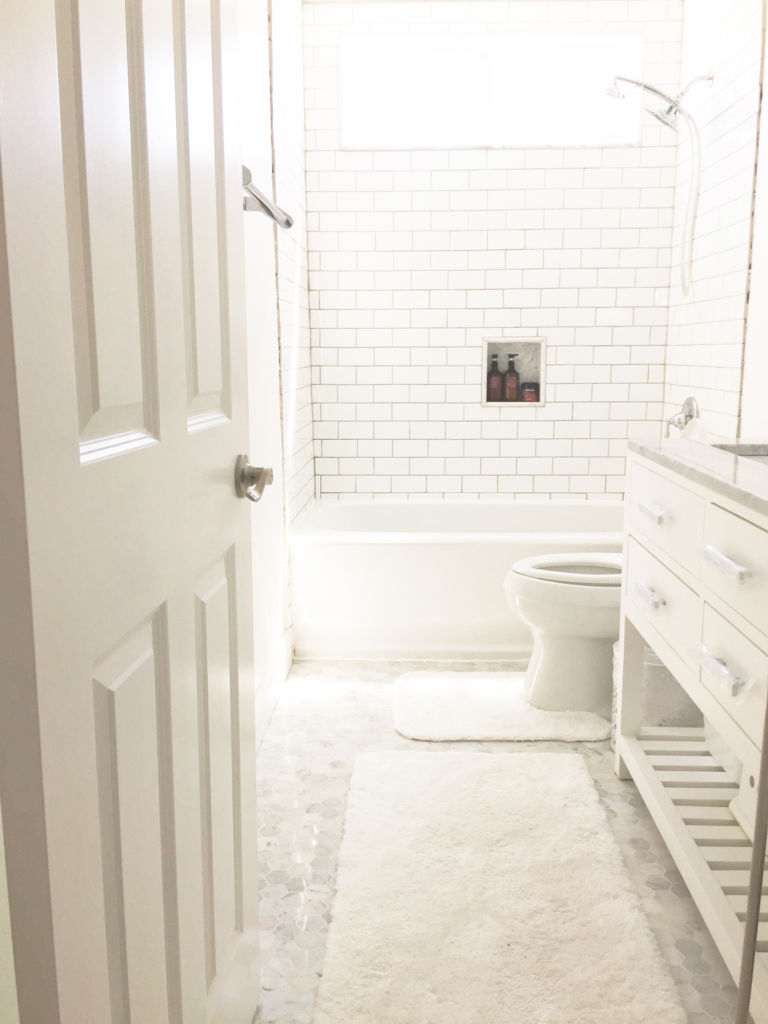
The vanity is called Water Creation Madalyn 60″ from Wayfair.
Master Bathroom In Progress
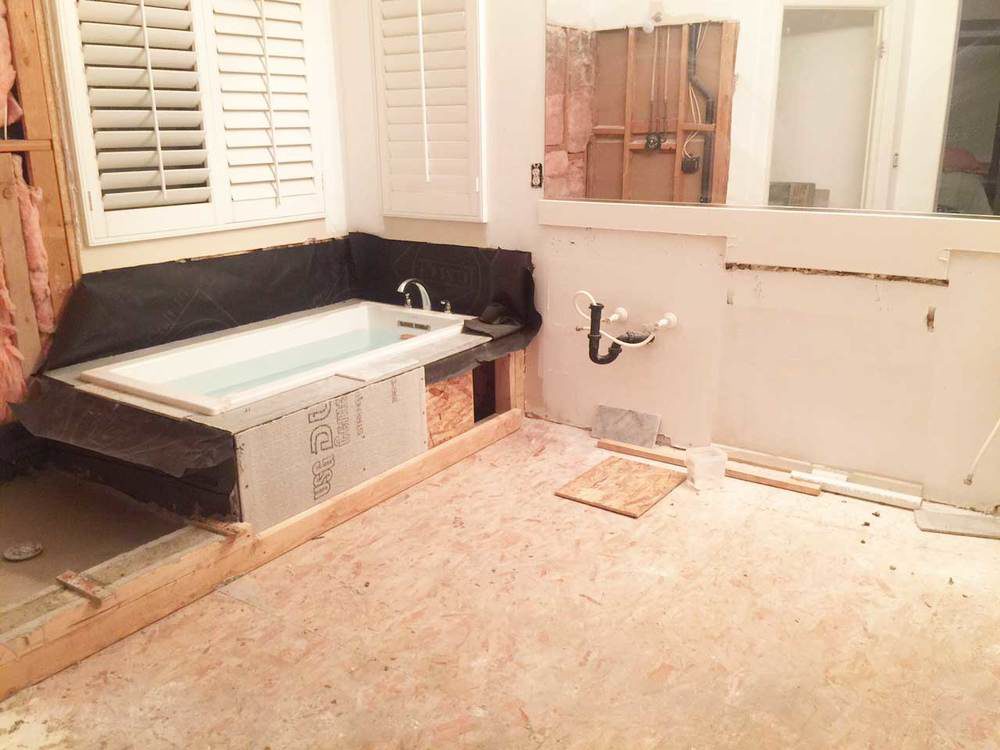
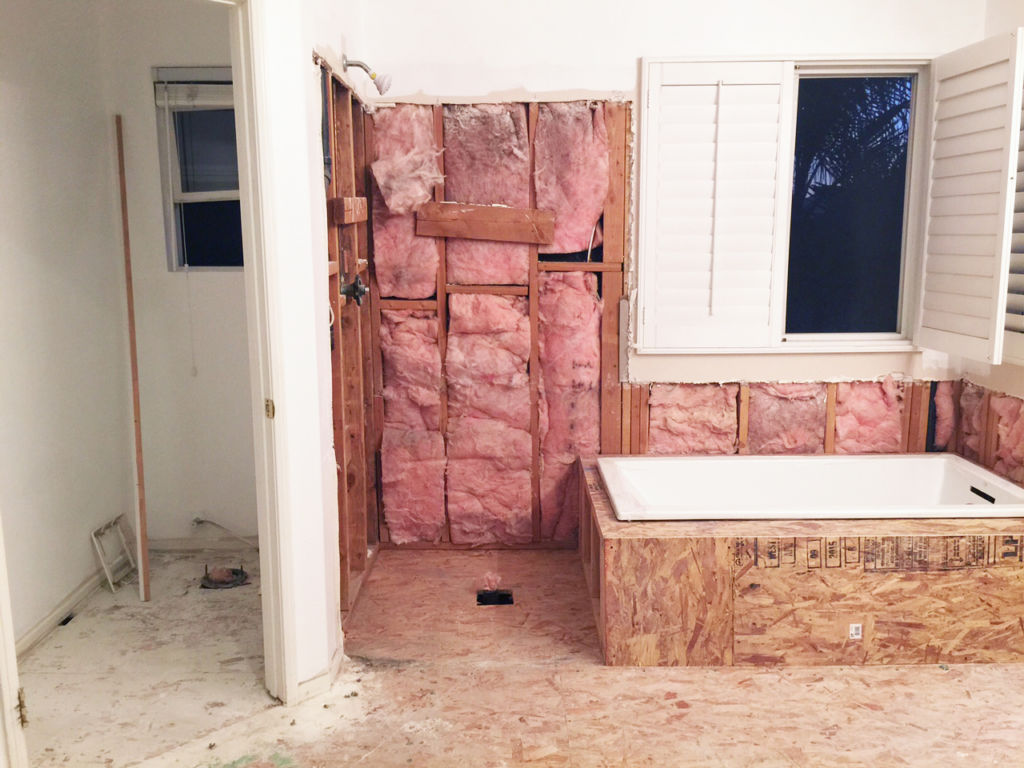
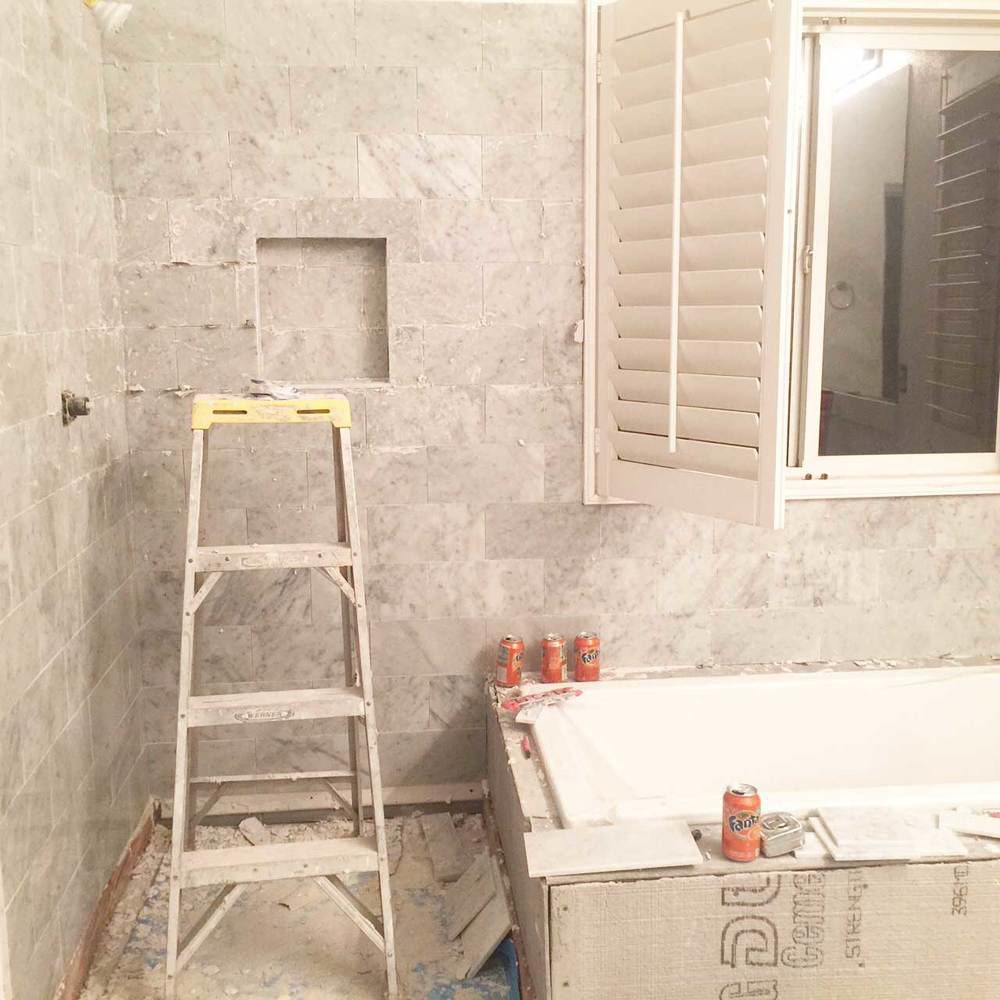
I didn’t have the patience to pick out different tiles for wall and floor so I kept it simple and chose to use carrara white marble everywhere. To prevent this room from feeling too cold, I’ll incorporate natural wood and deeper hued chairs and rugs. We skipped anything that requires major renovation and stuck to old layout despite the shower that’s on the small side.
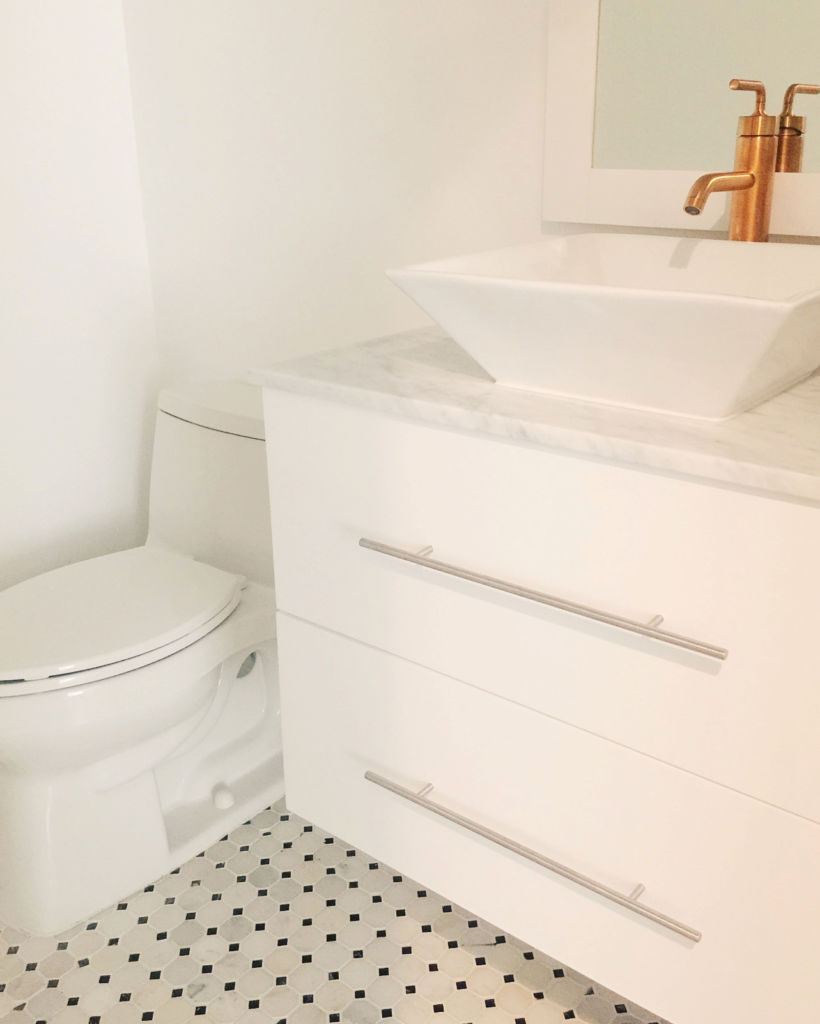
Guest Bathroom: Black, White + Touches of gold
I wanted to try something more androgynous and bold in the guest bathroom because I went safe and neutral elsewhere. I want to create at least one space where I can have a little more fun and be creative and this black and greecian white mosaic tile caught my attention.
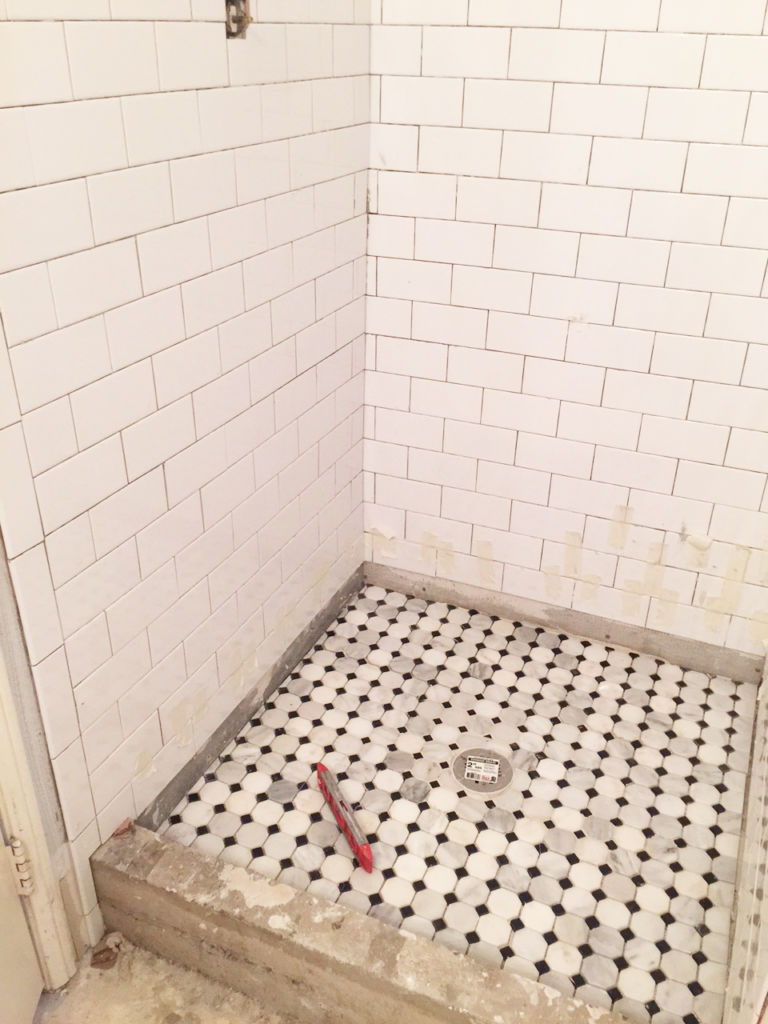
I splurged on the Kohler purist series (faucet + toilet paper holder + towel holder) in gold.
Kitchen Before & After
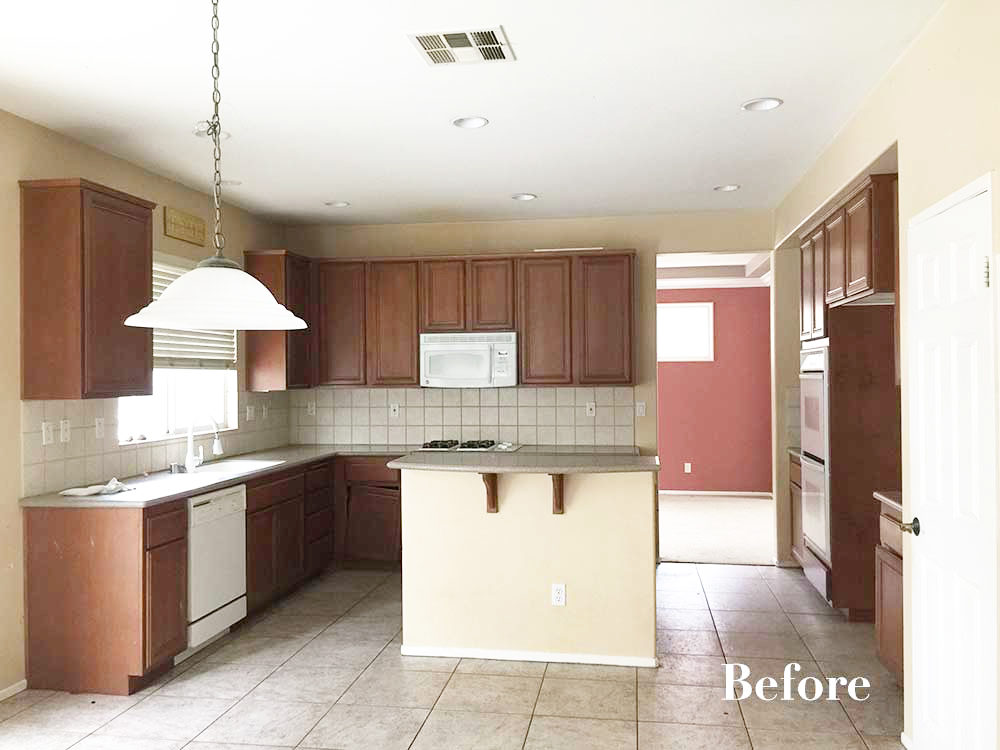
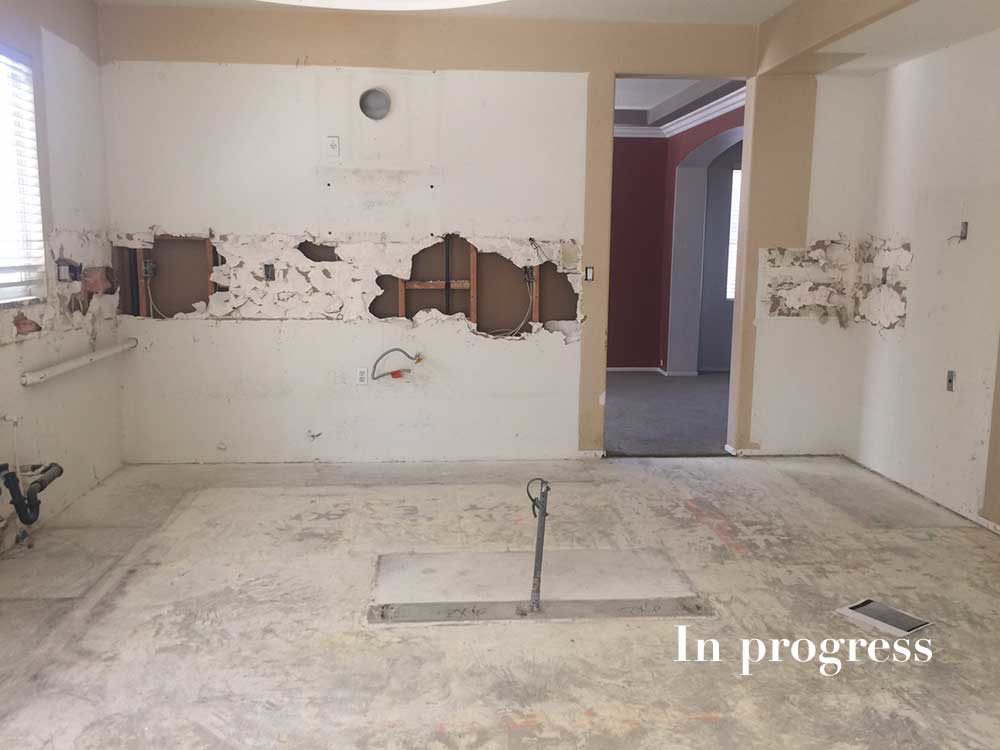
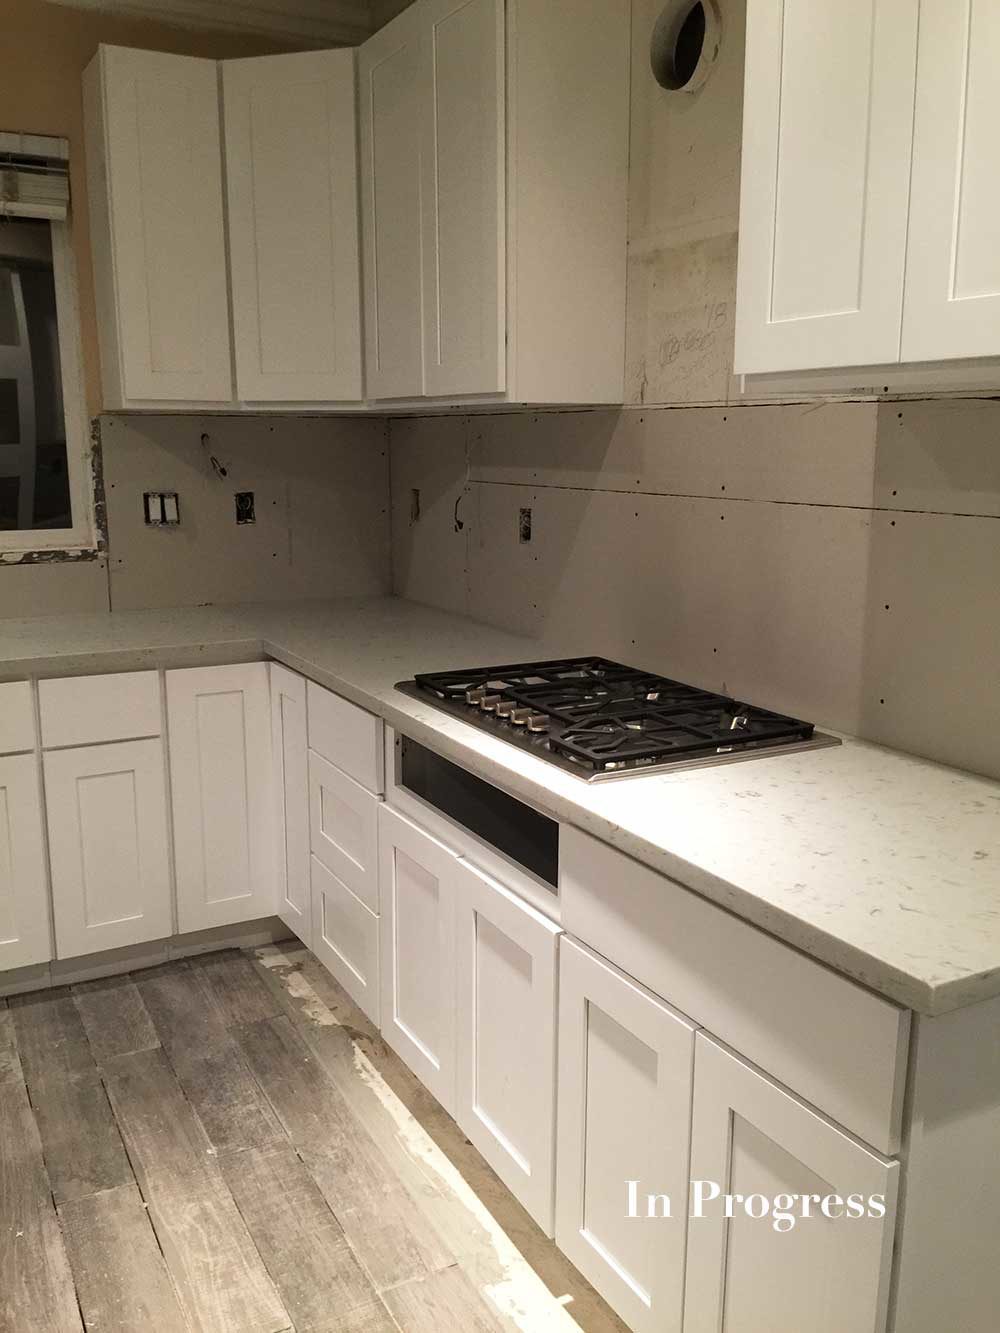
And we’re almost done!
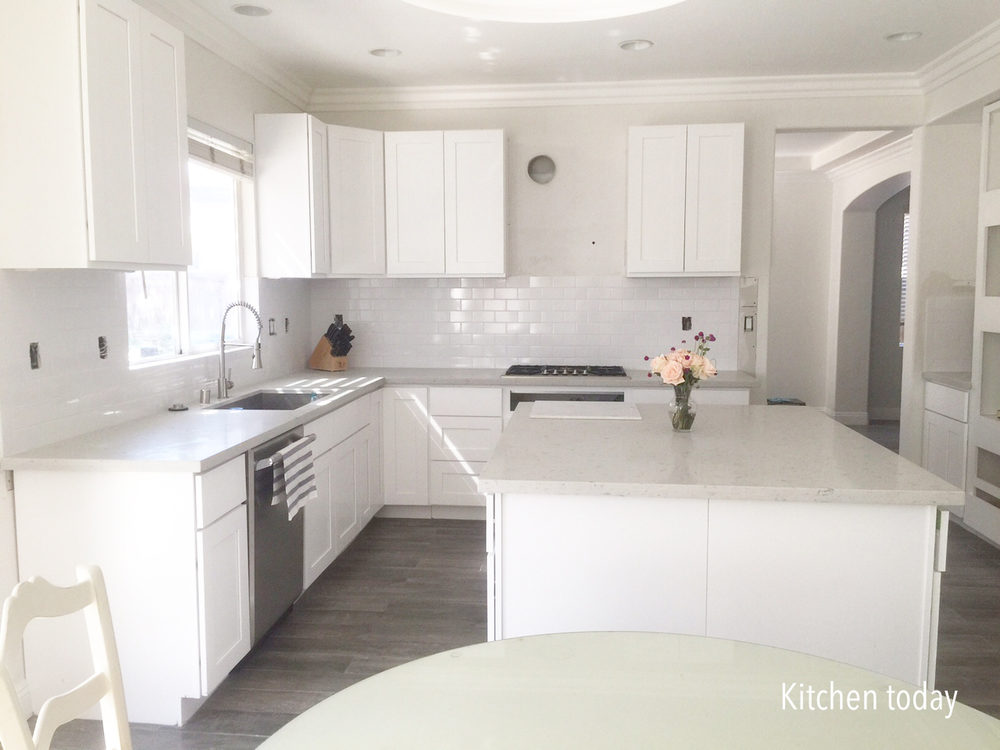 White shaker cabinets (still missing pulls & glass doors) with light gray quartz countertop
See how much larger the kitchen looks with the new island? We’re still missing double oven, pulls, range hood, glass doors and island lights but I’m happy with how everything turned out so far.
I really wanted white marble as countertop but opted against it due to its porous nature. I use the kitchen daily and knew all the scratches and stains will drive me crazy. After using marble in bathrooms, I would recommend anyone to really think about it before choosing marble in the kitchen. It looks beautiful in design blogs and model homes but not functional for real families who cook real food.
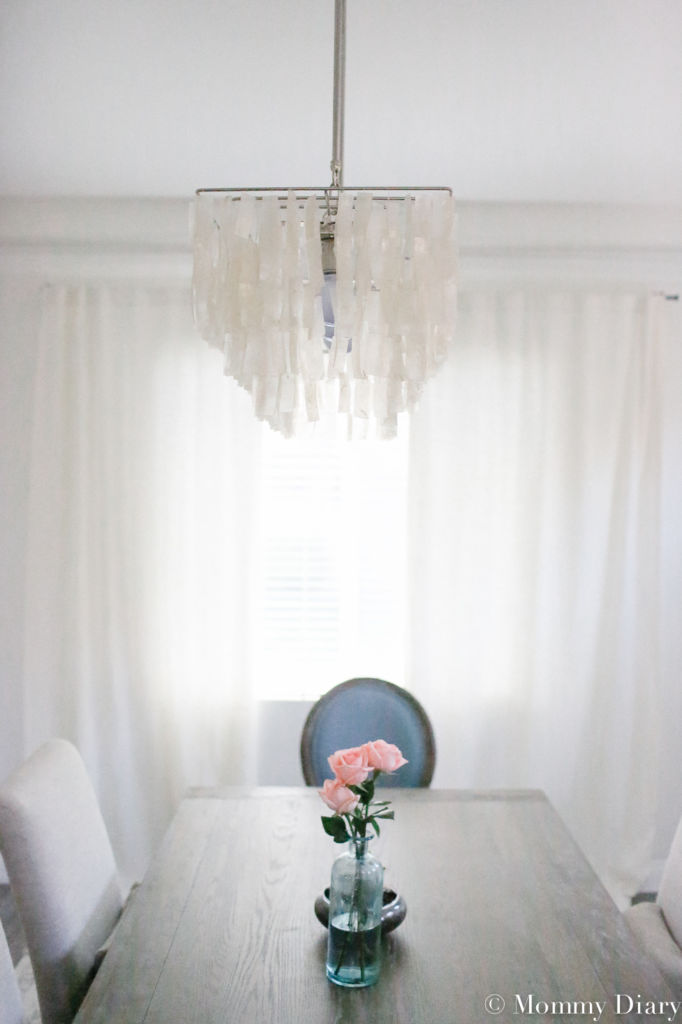
Finally, here are before and after photos of our dining room. If you follow me on Instagram, you may have seen this a few weeks ago.
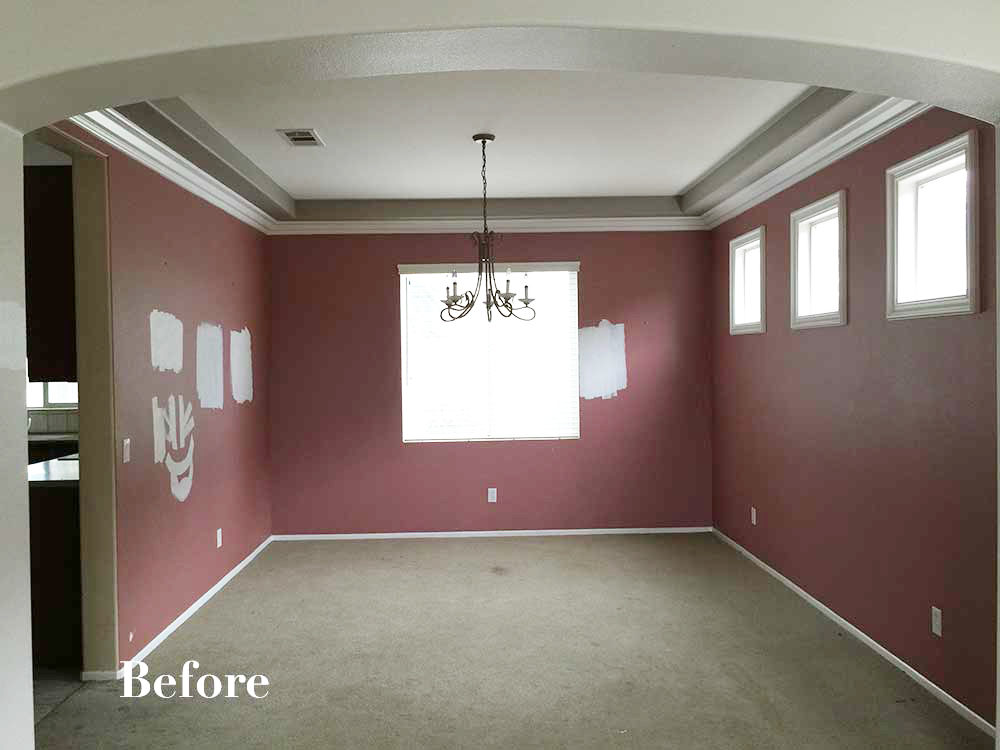
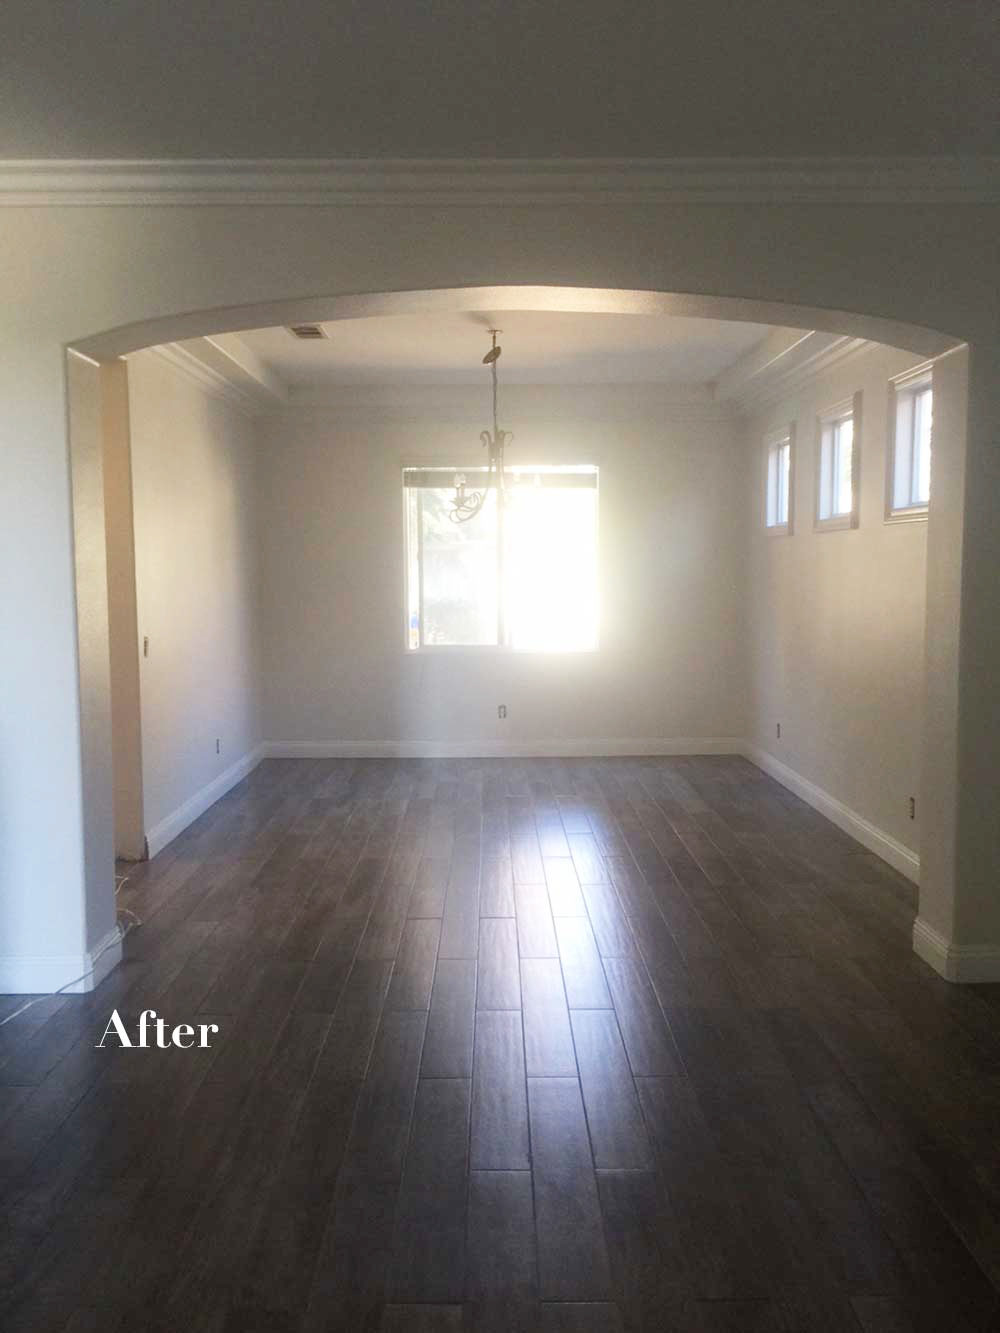
What do you think about the home remodel so far? Overall, I found that DIY design is much more difficult and stressful than I anticipated. It’s a lot of work and you will make many mistakes.
But if you’re feeling adventurous and creative, I would urge anyone to try designing the home yourself and hiring your own contractors. You can save a lot of money by cutting out the middlemen and feel the reward of seeing your vision come to life.
It requires extra steps like choosing your own materials, renting a truck, picking boxes up yourself, dealing with possible contractor problems etc. but definitely worth a shot if you’re ready for the challenge.
Thanks for reading part 1 of the home remodel series. I’ll be back soon with final before & after pictures.

Update:
Here is how our dining room looks today. You can find more details, photos and sources here.


This is a beautiful home renovation. People will surely inspire by this kind of renovation and will surely have an idea on how to renovate their home.
Thank you so much! It was a lot of work but so much fun.