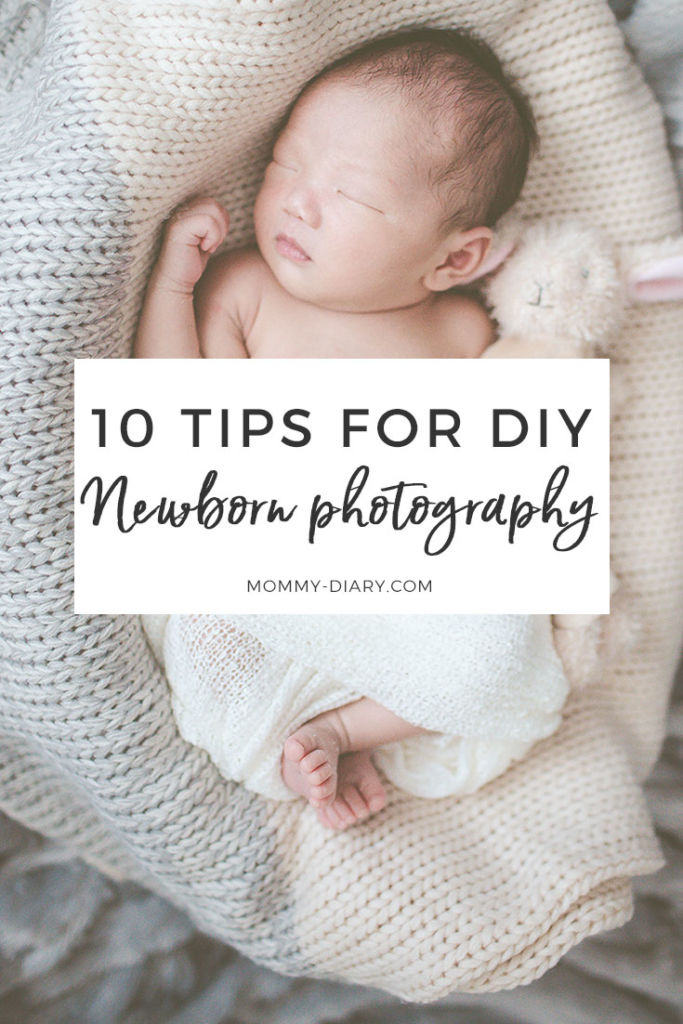
The Best DIY Newborn Photography Tips for Newbies
Today I want to share with you my tips and tricks for doing a newborn photoshoot at home. With a little bit of preparation and creativity, any mom can do these at home without breaking the bank for new photoshoots at every milestone. Of course, there will be times when you want to hire a professional photographer but in my opinion, these tips and tricks are great to know for any momtogs who love to capture moments of their little ones.
*Disclosure:
First I want to begin with a disclosure that I am not a professional photographer and these tips are meant for amateur momtogs like myself. The following tips and tricks are simply what I discovered through research and experience and are in no way meant to replace professional opinion. These tips may not work for everyone and I cannot guarantee results. But I do hope that this blog post can inspire you to create your own DIY newborn photos from the comforts of your home.
Tip 1: Shoot no later than 10 days old.
For the best newborn photos, professionals recommend doing the shoot no later than two weeks. I found that on or before 10 days is best because by two weeks babies become fussier while sleeping. This depends on the baby of course, but it is important not to miss this window of time because this is when they sleep longer and can be posed more easily.
Tip 2: Use natural light.
- Use natural light by a bright window when the sun is not too harsh
- A good rule of thumb is to let the light hit the baby’s face at a 45-degree angle
- Be sure the light source isn’t directly above or below the baby’s face
- Choose the right times of day with the nicest lighting
I wish I had known this sooner, but lighting is so important when it comes to photography. It doesn’t matter how great your equipment is, poor lighting or harsh lighting will yield poor results especially when it comes to portrait photography. This is why so many professional photographers prefer to take photos in the mornings or late afternoons also known as the “golden hour” and not under the harsh mid-day sun. You also want to avoid too many lights in the room. This isn’t just uncomfortable for your little one to have to deal with, but it can also ruin photos.
I think lighting looks most natural when it’s not directly above or below you, when it hits from the side creating natural, soft shadows and highlights that frame the face. For this reason, I chose the nursery window draped by sheer white curtains.
After some research and experimentation, I found colors look most natural when soft light hits at an approximately 45-degree angle. (But of course, this can depend on your personal style and preference.)
With these factors in mind, this is how I set up my temporary home studio.
Tip 3: Set up a home studio.
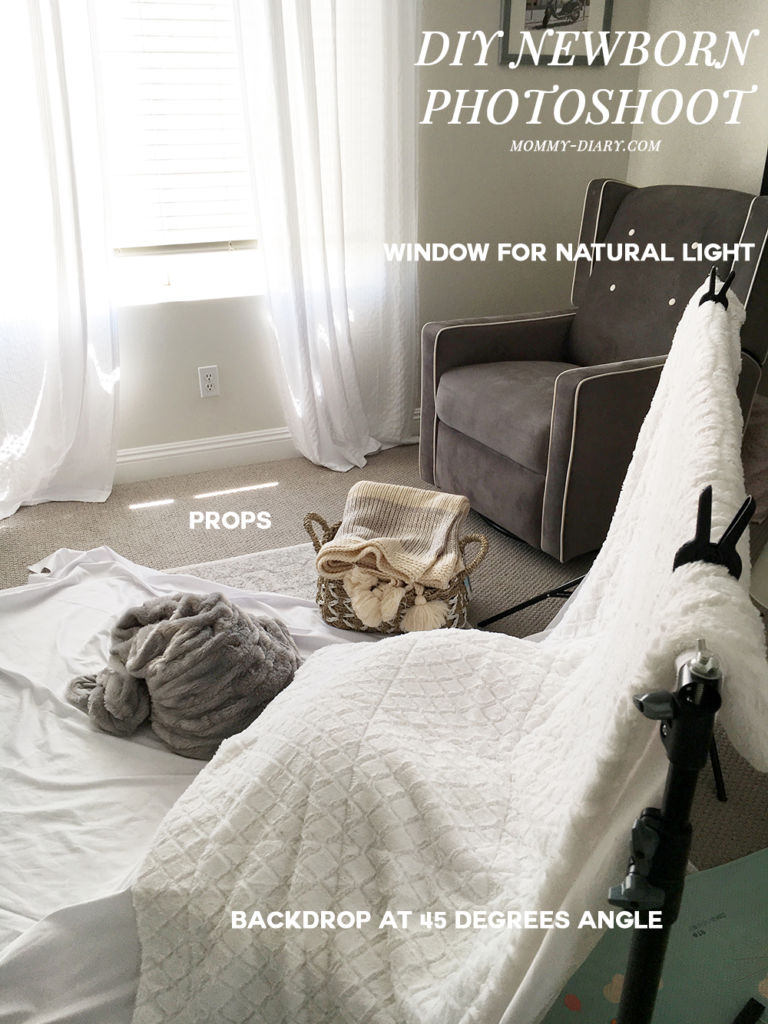
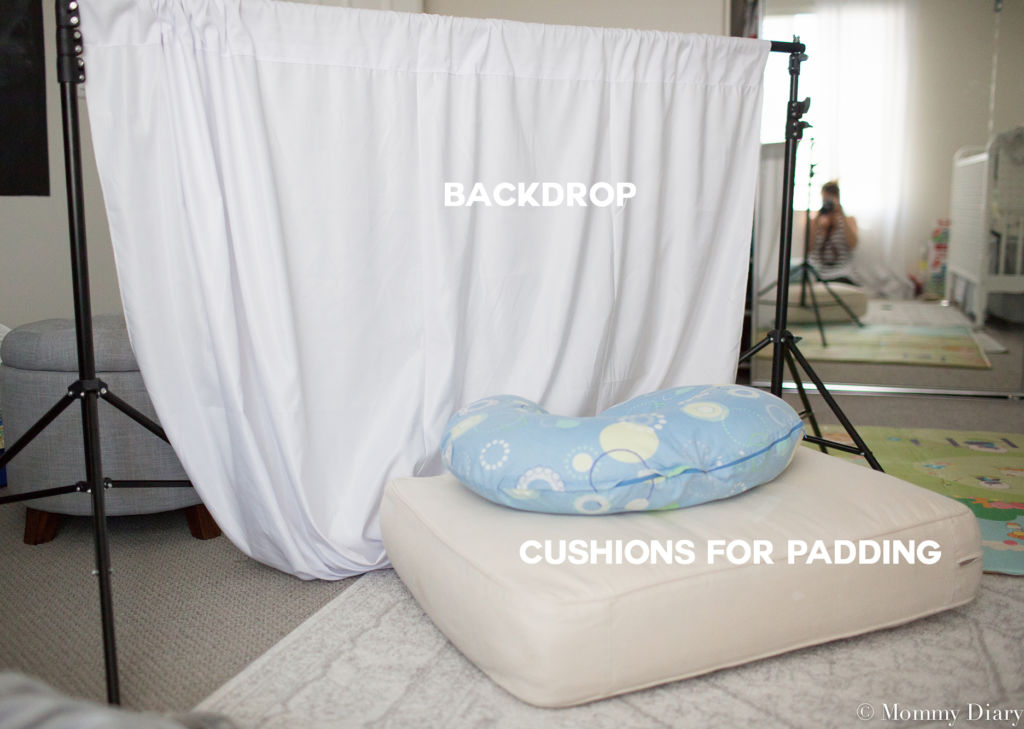
You also need cushions or pillows to provide some padding because your little one will most likely not stay asleep on a hard surface. I used a cushion from one of my sofas and a Boppy pillow I use for nursing.
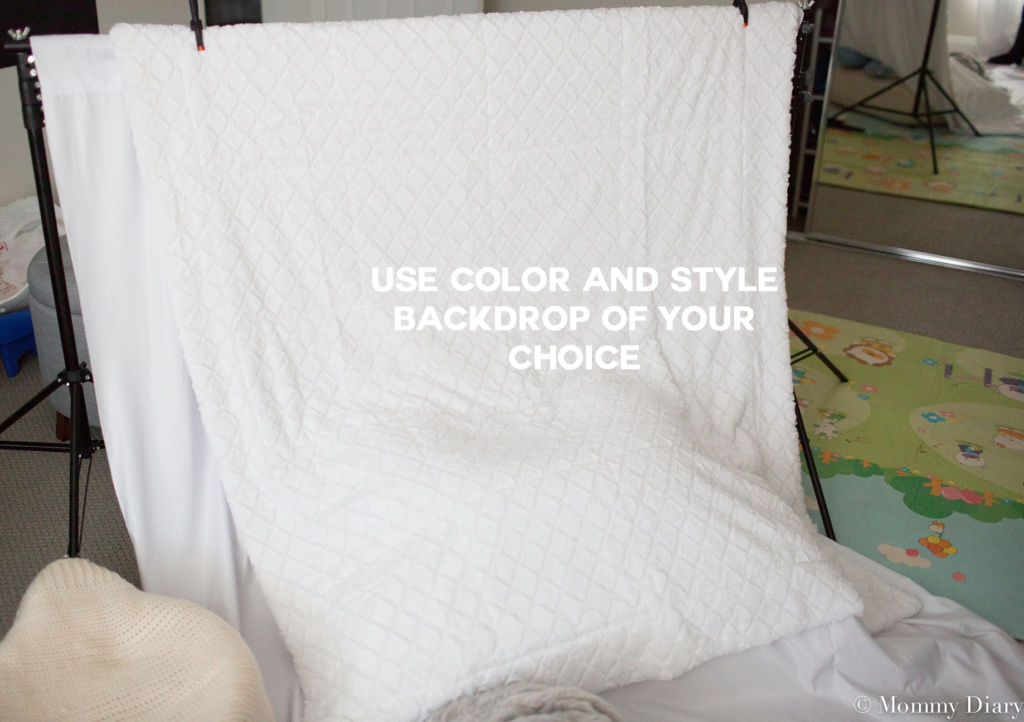
Then I spread a white blanket over the two cushions.
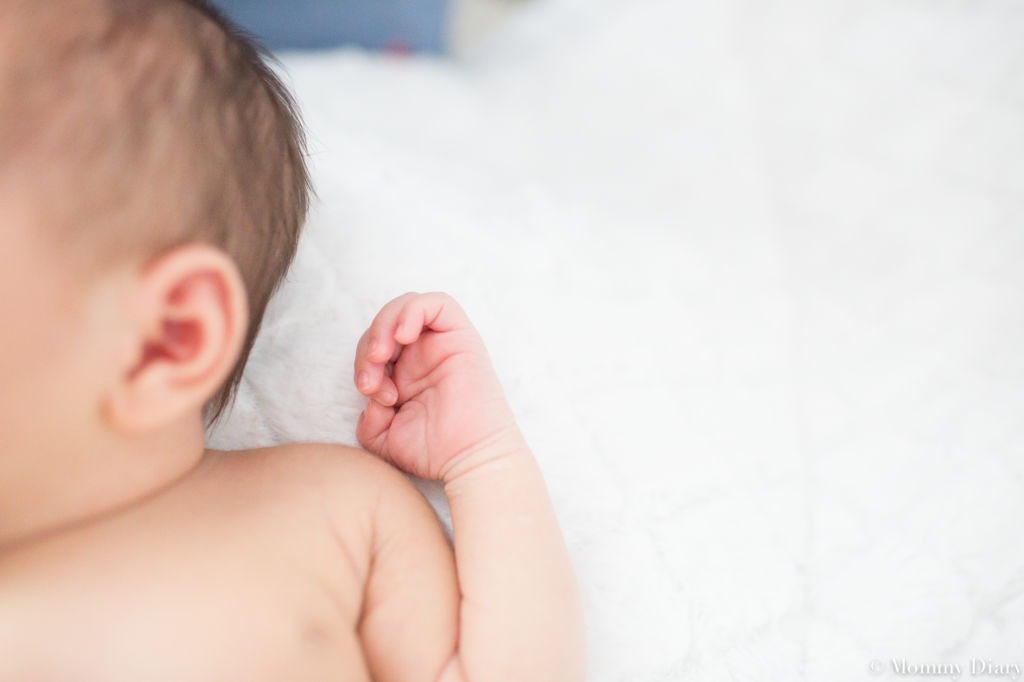
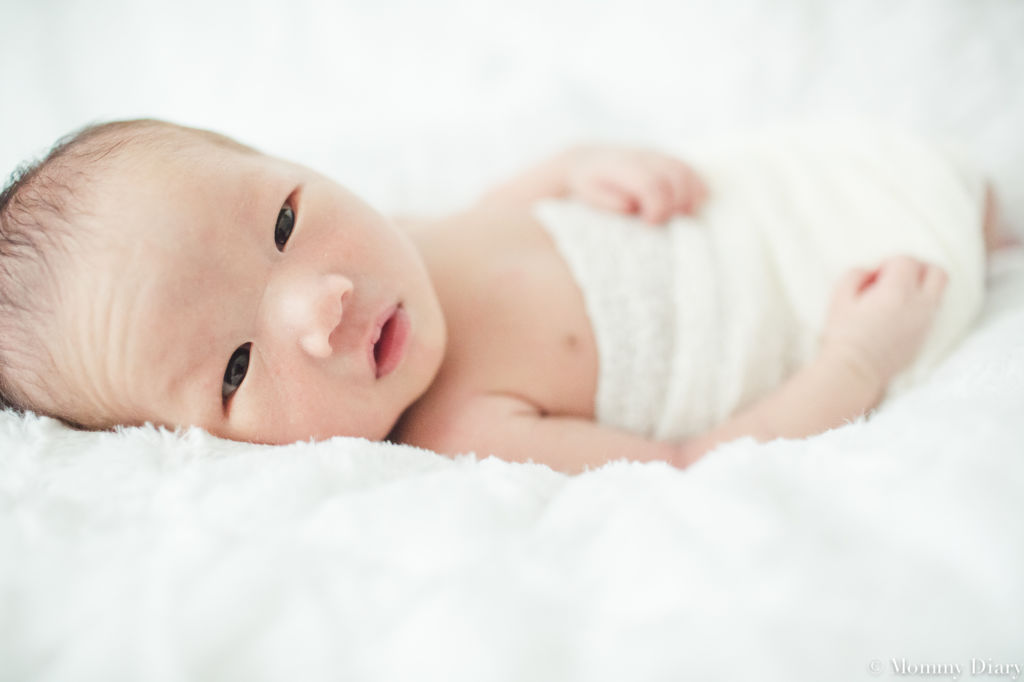
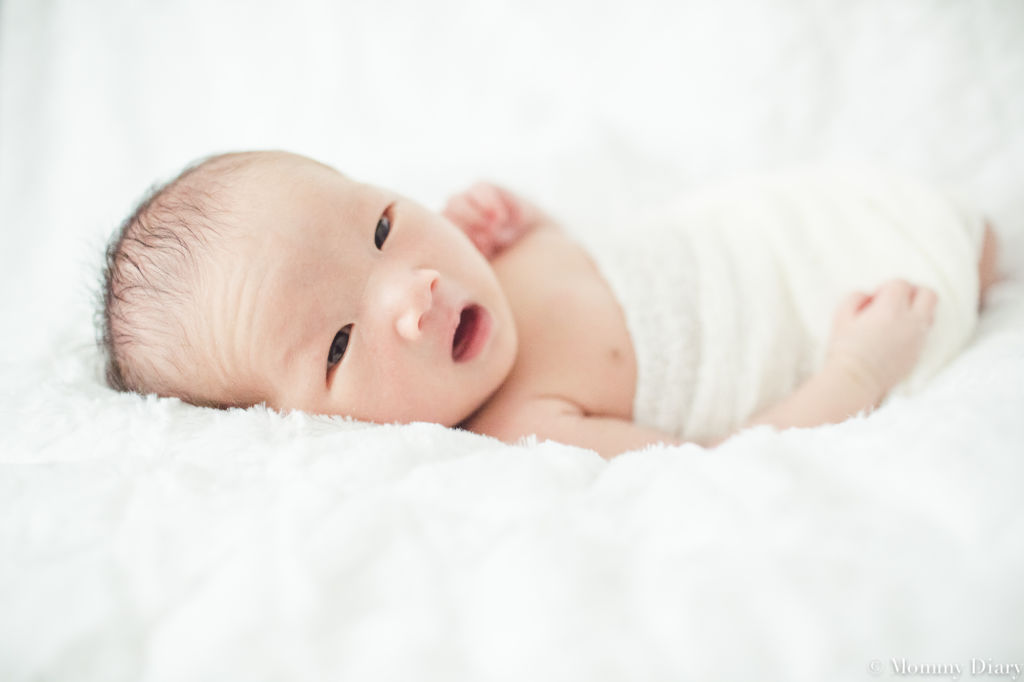
With this set-up, these are some of the photos I got. This was my first attempt at day 7 so there were some limitations. I wasn’t fully recovered so I didn’t have too much energy and it was hard to move around freely. I wish I took more time to perfect every shot, but because I couldn’t push myself, I was only able to take what the baby allowed.
Tip 4: Keep it simple.
This is my personal preference but I think newborn photos turn out best when it’s kept simple. The focus should be on the baby, not the background or props especially when the baby is only a few weeks old.
Tip: 5 Don’t be afraid to pose the baby.
I made the mistake of being afraid to pose the baby. I was so concerned with my baby’s comfort that I didn’t have the heart to close his fingers, move him around, put him on his stomach, wrap him tightly in cheesecloth, you get the idea.
Learn from me and don’t be afraid to pose the baby. You get one chance for these photos and your baby will be fine even if he/she looks uncomfortable on his/her tummy or tightly wrapped in cheesecloth. Be patient and keep trying.
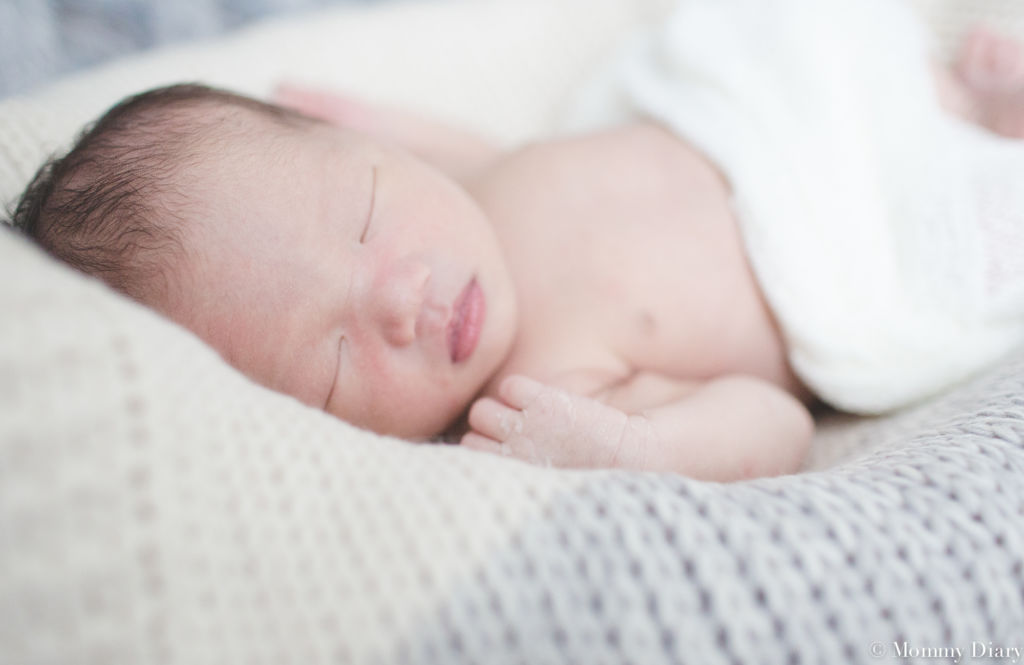
For this shoot, I gathered a few props from around the house (purchased at Home Goods) such as a basket and a few blankets. I threw in a tiny doll that I happened to have in the nursery. These are some photos I got from this look.
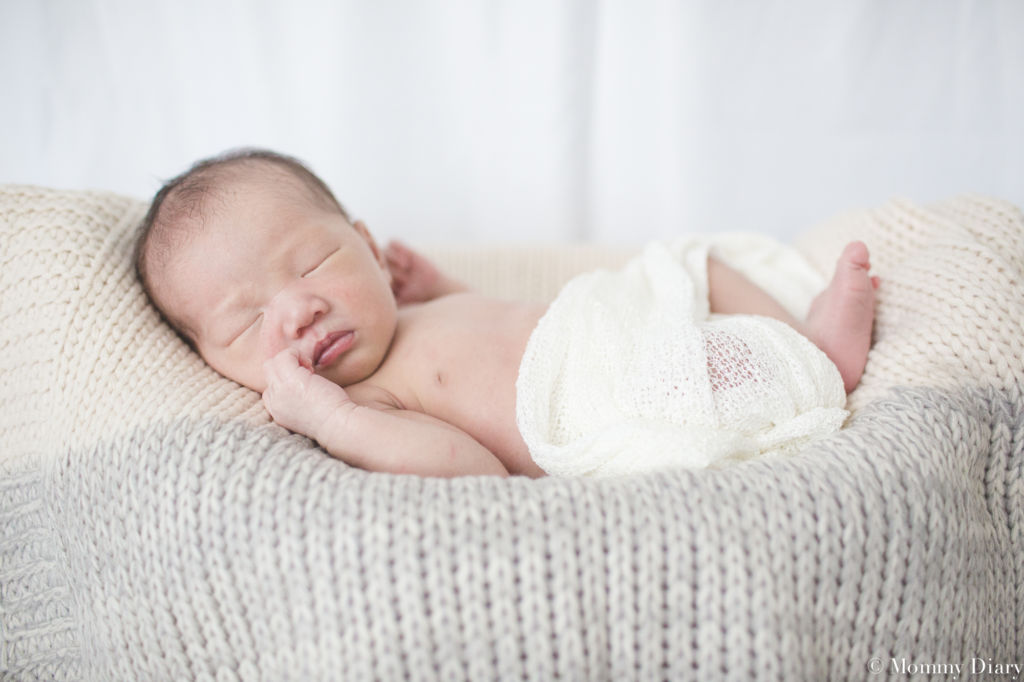
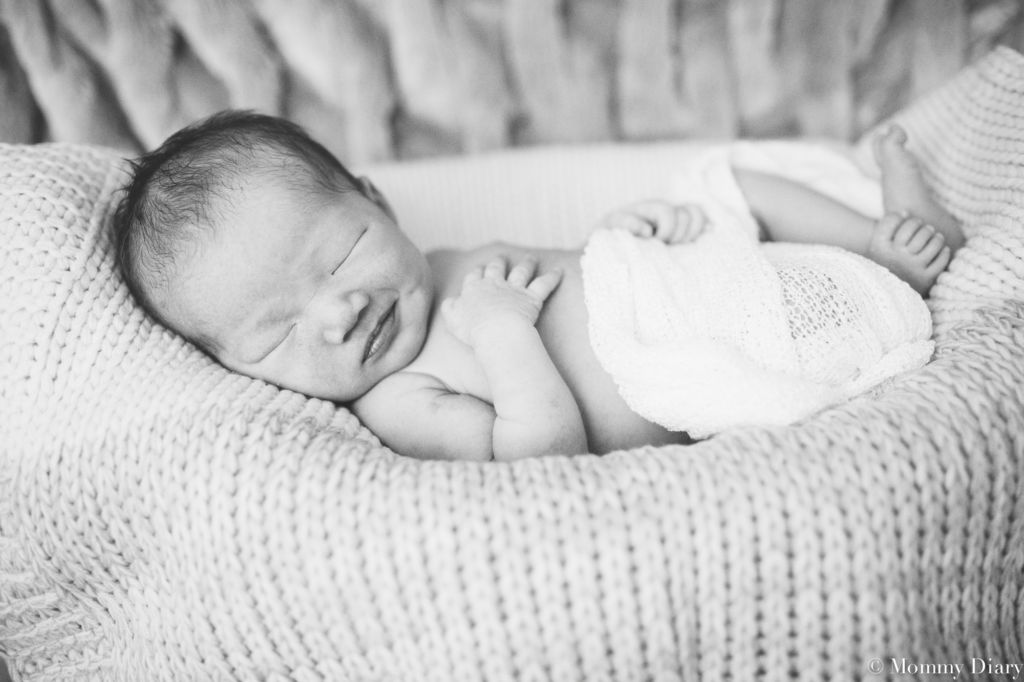
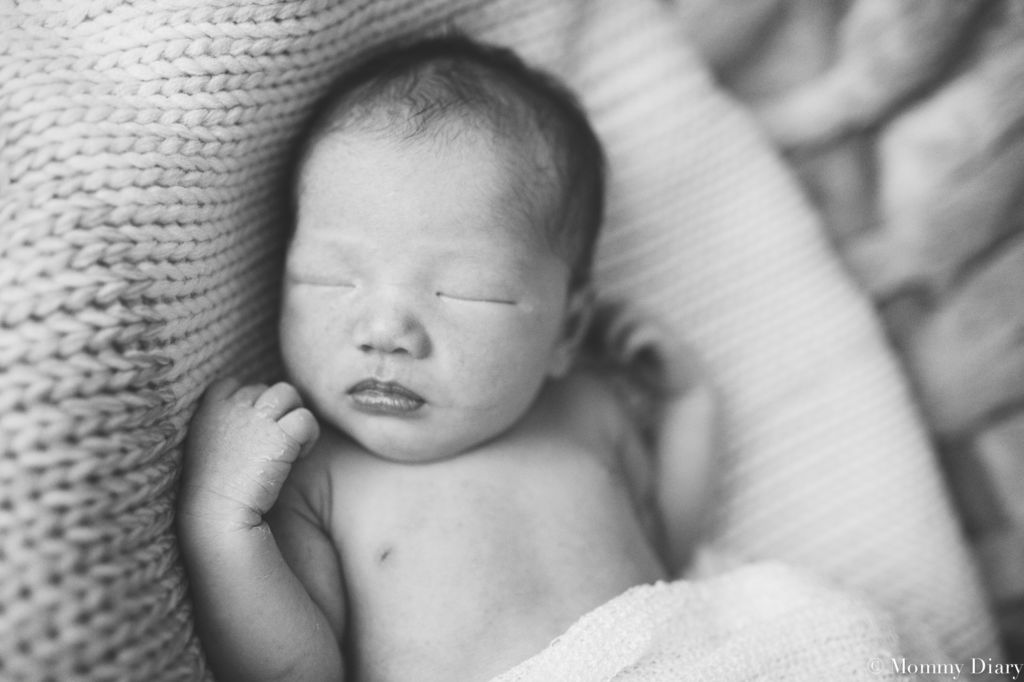
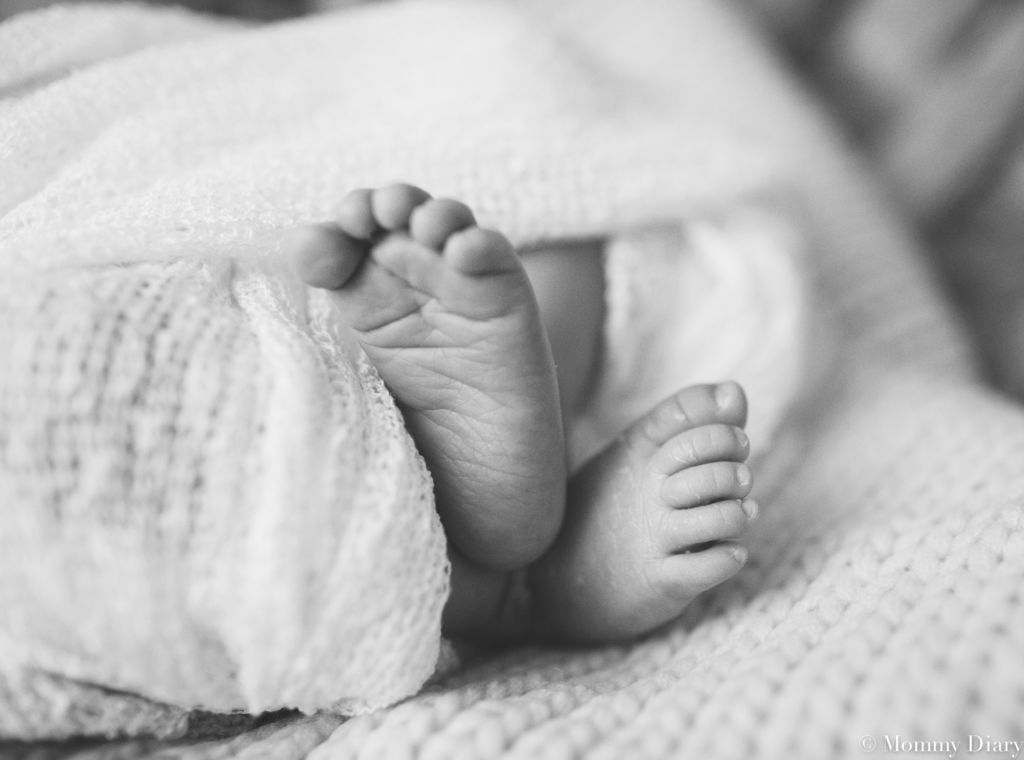
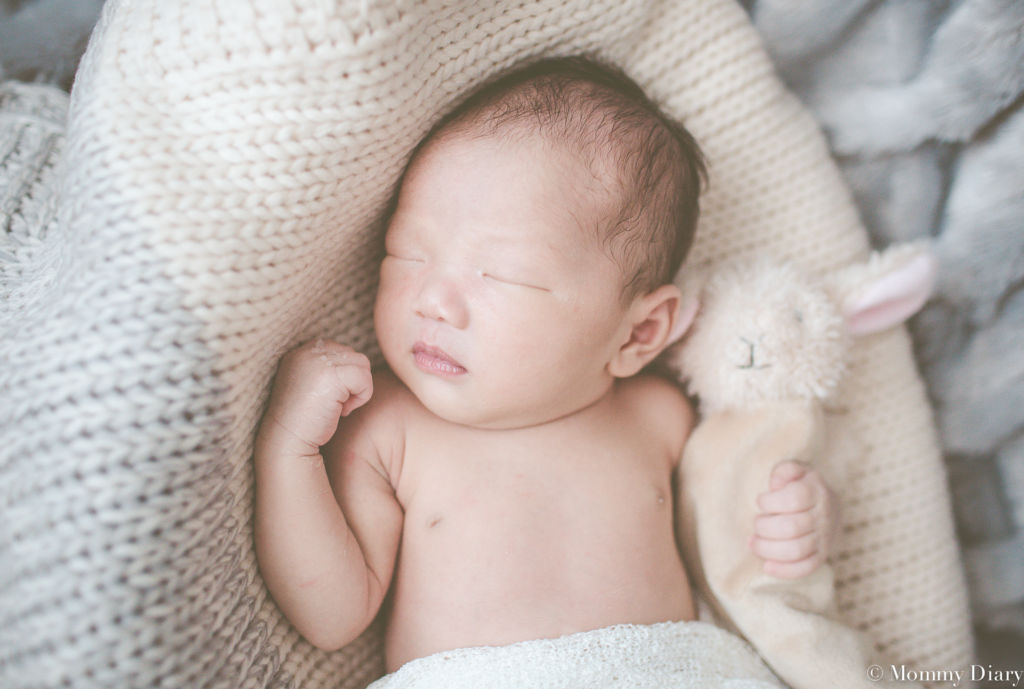
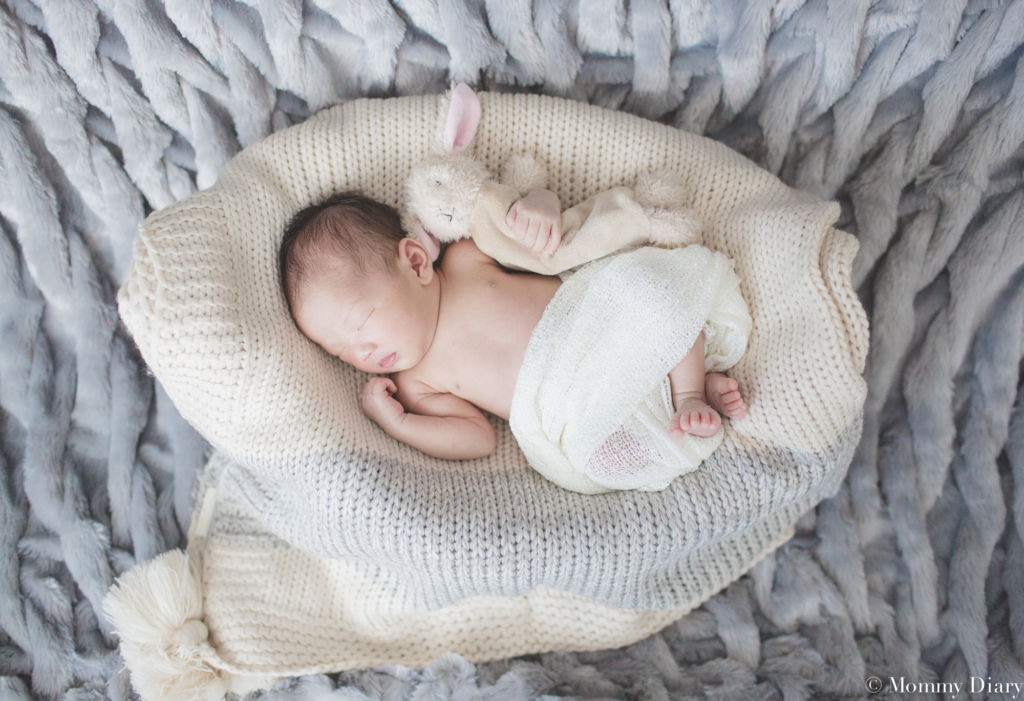
Tip 6: Get someone to assist you.
When I planned to do the newborn shoot myself, I didn’t realize how much pain I would be in my postpartum stage. I was not only in pain, but also lacked the energy I needed to set up the home studio, lay the baby down, pose the baby, take photos, and breastfeed in between. So if you plan to do this at home, be sure you have someone to help you and listen to your body.
Overall, I am satisfied with the way the photos turned out, but wish I planned it better and had someone to help me.
Tip 7: Consider investing in a SLR camera.
I began using a SLR camera once my kids were born. I was never trained formally and just taught myself from home because I wanted to take photos of my kids while staying home with them. For me, this was the best investment and choice I made as a mother.
Overtime, I’ve taken thousands of photos of my daughters, many of them I now consider to be priceless. For these photos alone, the SLR camera was worth the investment.
I don’t know much about Nikon SLRs because I began with the Canon line. I went from the entry-level Canon EOS Rebel series Canon Rebel T7 to Canon 7d to the full frame Canon 5d.
The entry-level Rebel series is great for anyone who wants to learn digital photography. I would highly recommend it, perhaps with a better lens if you want better quality photos out of it (Consider the 50mm 1.8 or 50mm 1.4 for portraits. Link on the bottom of the post.) I used the Rebel for at least three years before investing in a better body.
Tip 8: Learn how to use Photoshop and/or Lightroom.
I use Adobe Photoshop and Lightroom to edit all my photos. I’m not an expert and am still learning as I go.
These two programs have so many capabilities and functions that are useful for basic photo editing such as brightening photos, making them black and white, cropping, etc. I sometimes use filters to make editing easier. For the above photos, I used the Newborn Lightroom Preset from Creative Market for $23.
Tip 9: Practice, practice, practice.
Like anything else, you will never become a better photographer unless you practice. So grab your camera, play with various settings, and start shooting before the big day. Whenever I have downtime, I google various techniques for photography to learn from articles and blogs of professional photographers.
Some tips
- Focus on the eyes
- Avoid shooting the face from bottom to top (nostrils shouldn’t show. This isn’t flattering)
- Take both close-up and wide full-body shots
- Take photos of details such as ears, hands, and feet
- Experiment with various angles
Tip 10: Limitations of DIY newborn photography
- You may be tired and in pain
- You may not have enough energy for a photoshoot. I was only able to shoot 30 minutes at a time.
- You may be so focused on the baby’s comfort that you find it difficult to freely pose the baby for the photos.
- You lack the experience and know-how of professional photographers.
What You Need for a DIY Photoshoot
- A sleepy baby
- A camera (I used Canon 5D Mark III with a 35 mm prime lens)
- Backdrop in any color of your choice. I personally like white. You can also use sheets , fabric, or blankets for this.
- A support system to hold up the backdrop (you can use the back of a chair or a large poster board)
- Cushion or pillow. This newborn posing pillow works well too.
- A Boppy or pregnancy pillow to place baby
- Props (blankets with different textures, baskets, dolls, accessories, etc)
- A pacifier
- Soft music or white noise
- A cute outfit (avoid the normal white onesie and find something really cute)
- Photo editing program. Try Adobe Photoshop, Lightroom, or Canva.
- I used the Newborn creative Lightroom preset
- Lots of patience!
As you can see, I own an adjustable backdrop kit with white curtains kindly gifted by my brother for a birthday one year (thanks brother!). These don’t have to be expensive and can cost you anywhere from $40 to hundreds of dollars depending on quality. You can find just the support system for $64 here.
Final reminders
- Figure out what poses you want for the baby but be flexible
- Take it easy and don’t overwork your body
- If it doesn’t work on the first day, try again the next day
- Have props and backdrop prepared before you give birth
Despite some limitations, I saved money by doing my own newborn shoot and can now tell my son that I shot his first photos myself! I was still able to get some nice photos and make a birth announcement for family.
So what do you think? Would you consider doing your own newborn shoot?
As always, if you found this post helpful in any way, please pin the image below. It helps other parents find this article and supports this blog. Thank you!



I love how your photos turned out! What a precious boy! I’ll pin this and refer to it when I plan on adding another addition to my family. 😉
Polly
http://gemsandjoy.com
Thank you for reading Polly! I hope you can find the information useful one day.
This was great! I am definitely going to try this if we have a third baby! Thanks for the tips 🙂
I’m glad you found them useful! I hope the photos turn out good!
Love the tips!
Great tips!! I have the Canon Rebel EOS SL1 and it’s my first. It’s been so good to learn on and I have a 50 mm lens at the top of my Christmas list! 35 mm will be next Christmas! 😉 I wasn’t prepared for newborn shots so I pinned this to do with next baby! xx
Did you get the 50mm? I had the cheaper version but I need to get the nicer one. I love my 35mm (it’s the only lens I own) but I think 50mm is better for portraits. I can’t wait to see your photos!
Wonderful post! Your photos are beautiful. I’m expecting and planning to do my newborn shoot myself. Thanks for the advice. I’m also in total agreement less is more with newborn shoots.
I hope the photos turn out good! It worked out well for me and I saved money but I do wish I posed the baby better. I can’t wait to see your newborn photos!
Very good tips;) loved it !!!
Thank you Teresa, glad you enjoyed it! 🙂
I experienced the same thing! The photo shoots were difficult & short (30 mins at a time tops) 5-9 days after my third was born. My photography has gotten better since my first. However, I took lots of pictures of her and cherish them all! I didn’t hire a professional until she was a year old. I’ve found that I love my own photos of my kids more than the professional ones. At least we have more pictures of them than we do of ourselves; and infinitely more pics than our parents had of themselves. Bless their hearts! Make sure you’re backing your pictures up. It just takes one natural disaster to lose them all! Thanks for the tips.
Hi Lauren, thanks for those tips! It’s funny you mentioned that about backing up the photos because that’s what I’ve been doing lately. My photography too, improved greatly with each child and now I take 90% of my kids photos. I personally like my own photos better than a professional’s too– the kids seem a lot more natural and in their comfort zone around me than a photographer. Your kids are lucky you are so committed to capturing their childhood. It all goes by so fast, doesn’t it?
Thank you so much for sharing your open and honest posts along with gorgeous photos and being willing to share your tips. So inspiring! I love the style of these newborn shots, the lighting is beautiful!
Thank you so much Cat. The lighting was achieved with natural window light. I really think its best! I’m so glad you found it inspiring. 😉
My daughter is having her second child tomorrow a girl . She has a 3 Ur old son. I’m going in while she is born.c-sec. I plan on taking pic. Not so much these kinds but . Love u r advice thanks❤️?
Funny you said you’re not a pro but used a pro camera lol looks great though thanks for the tips!
lol that’s true. I have good equipment but can definitely learn more to be a pro! Good luck with the photos!
I’d also recommend investing in an extetnal flash unit for when the sun goes down. You want one that tilts and swivels so you can bounce flash, which will create softer light and shadows vs the harsh light of the built-in flash.
Also, for Nikon, your best options currently are the D3400 or D5600 if you’re on a budget, or the D7500 or D750 if you can afford to spend a bit more. They also have a similar line of lenses.
I really liked the article – your tips are the best for such a difficult shooting as baby shooting is. So if you are not a professional photographer I strongly recommend you to invite one for your baby. Such as this one in Dubai http://www.atsaltstudio.com/baby-photography
You are my absolute hero… I loved your post and got myself the camera and lens you recommended (have always only borrowed equipment before)- sort of as a “push present” to myself 🙂
My baby girl came last Saturday and we tried out some stuff today after I re-read your tipps. And believe me- you doing that ALONE and all the pain and low energy- I can totally sympathize.
And let me add that we also had a little episode of bowel movement on the set up, hahahaha, and then again, and on me while I was trying to rush to the changing table… it was hilarious! Well nothing my washing machine can’t deal with.
Thanks for being so inspiring!!
Lots of love from Innsbruck, Austria
Thanks for this excellent article. One other thing is that many digital cameras come equipped with the zoom lens that allows more or less of a scene being included by simply ‘zooming’ in and out. These types of changes in focus length are usually reflected in the viewfinder and on huge display screen at the back of the actual camera.
Thank you for the helpful and thoughtful tips. I’m the grandma and plan to help my daughter out with this. And Rita Maria – that was hilarious! Maybe we should add baby wipes and patience to the list! 🙂
I loved your article. My first grandchild is due any day, a girl😍. I shot my daughter’s maternity photos a couple of weeks ago. I’m certainly not a professional, but I was very pleased. She has asked me to be her birth photographer. Im nervous, but very excited. I can’t wait to use your tips on her newborn shoot. The camera I have fallen in love with is the Sony a6000 with a 50mm lens. I have a Nikon 3200, but this Sony is so lightweight and makes excellent pictures. Thanks for taking time to share your experience.
Gorgeous!! I want to take photos of baby in his crib from above to show his size in the crib. I used my 35mm, however, I cant capture the crib for showing size of baby. Am I not high up enough or do I need a wider lens?
Thanks so much for the advice and ideas! Can’t wait to try them
I love this, thank you so much for sharing! I am starting photography and planning on taking pictures of my niece. So excited, thanks again!
So glad you found this useful. Good luck with the photos!
Im not a monmy but will definitely put this in place for taking pics of my coming first ever nephew 😍
Hi, what program do you use for newborn lightroom preset? it looks like you have to buy another program in order to use it. thanks for any input.
karen
I use lightroom with these presets.