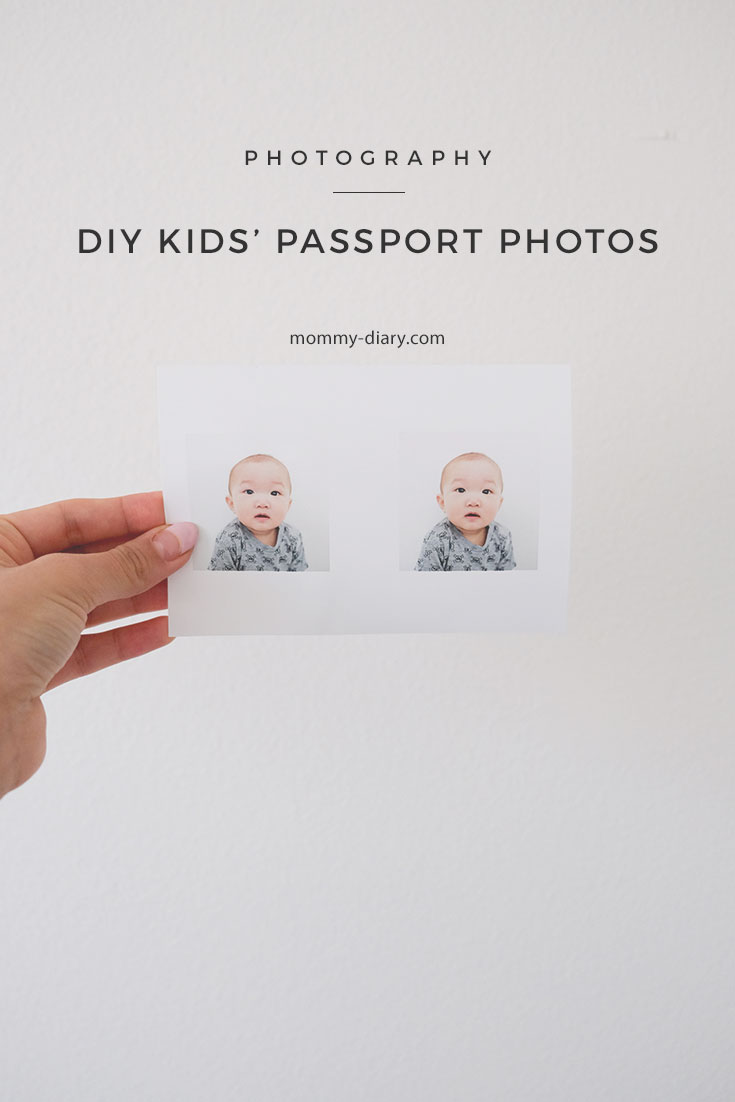
How to take baby passport 2×2 inches size from home
Last time I went to a local Walgreens for passport photos, I was a little shocked. The worker actually took my entire family’s passport photos with a point-and-shoot camera against a plain white wall! I was like, wait, I could’ve done that at home! The photos weren’t that great but they worked just fine for the passport.
I always thought passport photos had strict requirements that required a certain kit but nope, it’s actually really straight forward, simple and fast.
In this post, you’ll learn how to take your kids’ and baby passport photos in the comfort of your own home with your own camera. This is especially helpful if you have little ones that require multiple re-takes and want to take your time getting the perfect passport photo.
Here’s how I took my baby’s passport photos from home in less than 10 minutes.
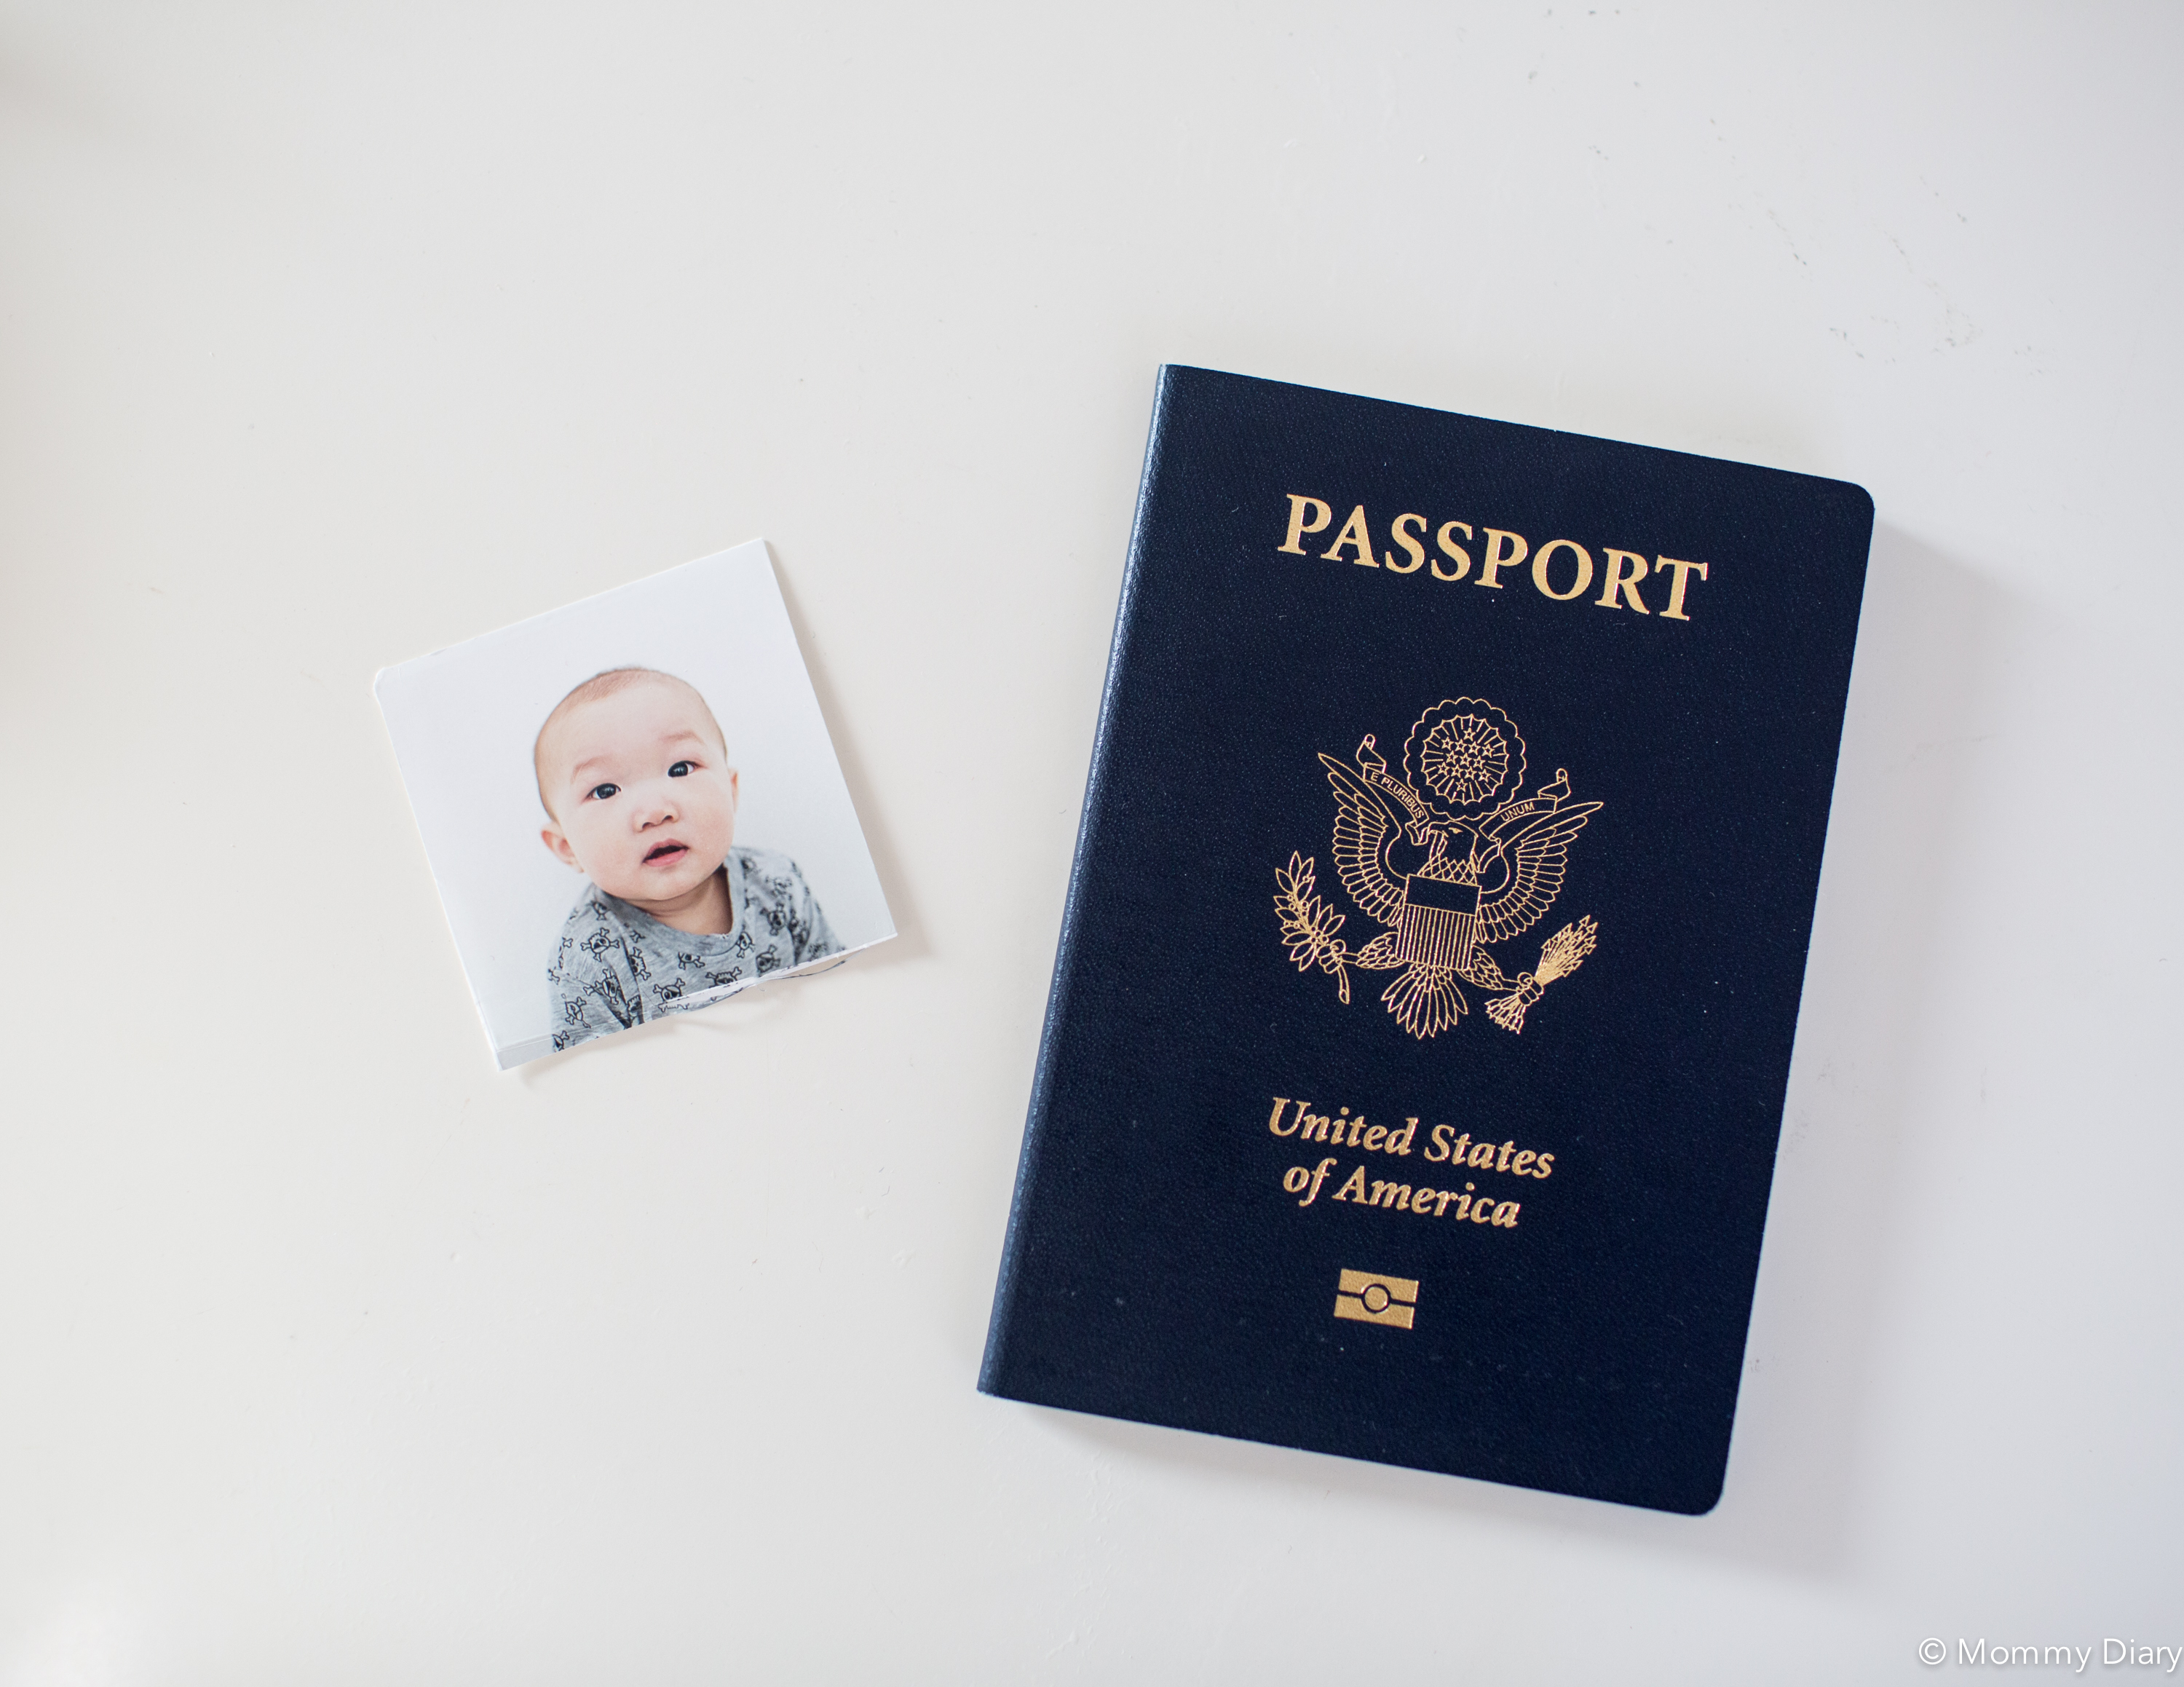
1. Understand the baby passport photo requirements
Here are important passport photo guidelines from the Department of State. Passport photos must be:
- In color
- Printed on photo quality paper
- 2 x 2 inches (51 x 51 mm) in size (standard passport photo size)
- Sized such that the head is between 1 inch and 1 3/8 inches (between 25 and 35 mm) from the bottom of the chin to the top of the head.
- Taken within the last 6 months to reflect your current appearance
- Taken in front of a plain white background or off-white background
- Taken in full-face view with the baby’s head directly facing the camera
- With a neutral facial expression and both eyes open
- Taken in clothing that you normally wear on a daily basis, preferably with light colors
2. Find a plain white backdrop
This can be a plain white wall, a door, a closet door, or even white paper or poster taped to the wall. Anything plain white works. The important thing is that it is a plain background with no wallpaper, distracting objects, etc.
3. Look for good light
This is crucial because good natural light is what’s going to make or break the quality of your photo. Try in the morning or afternoon by a window in a brightly lit room. Remember that lack of light can cast shadows or make a white wall look gray or even dark gray.
4. Pose the child or baby
I had to photograph my 7 months old baby so I sat him up on a little table with blankets for padding. He’s able to sit up independently so this helped. You can get someone to help you if needed. Newborn passport photos are different because they can’t sit up on their own, yet you also cannot have someone hold the baby in the picture. Car seats are a no-go as well. If you have a younger baby, lay your baby down flat on a white sheet or blanket. Older children should be easier, just stand them against a white backdrop.
5. Try bracketing
Bracketing is just a fancy word for testing out your shots for exposure, brightness, composition etc. You can shoot in auto mode but if you know how to use manual mode on your camera, this is even better! Try taking some test shots to make sure the exposure, brightness and focus are right. Try to focus on the eyes if possible.
6. Frame the photo like this and snap away!
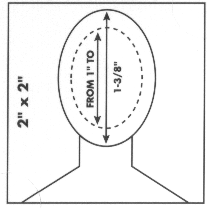
If you know how to use basic photo editing software, you don’t even have to frame the photo perfectly because you can always crop and edit later. Just keep snapping away until you get the right shot! It may take a few tries to get the perfect photo for a baby.
7. Make sure the baby/child is looking directly at the camera with a straight face as possible.
This means no big smiles and wide grins on your baby’s face. If your child wears glasses, they must be removed as well. If possible, try to get a shot with their mouth closed. Be sure the hair is neat and both ears are visible. Clothing should be kept simple and neutral.
8. Use a passport processing online service
I ordered my passport application through Target and it was super easy. It cost me $9.99 for two photos (on one sheet) and it was available for pick up on the same day.
9. Use a local post office for easier and faster processing
I went to the LA passport agency the first time I got my family’s passport and this took over 4 hours. The lines were crazy long and it was draining to be there with the whole family. In contrast, applying at the local post office took less than 15 minutes with an appointment and it was so easy! You can find a post office near you here.
10. Be sure you’re there with your spouse (or with the right papers) with valid IDs
To apply, you need your child’s birth certificate, social security card/number and valid ID’s for parents. You also need both parents present unless you get a letter notorized by your spouse. If you’re not married or divorced, there are certain documents you will need. I believe this is a way to prevent one parent from taking the child overseas without the other parent’s permission.
You can find more detailed information here.
And that’s it! It’s a lot simpler than you thought, right?
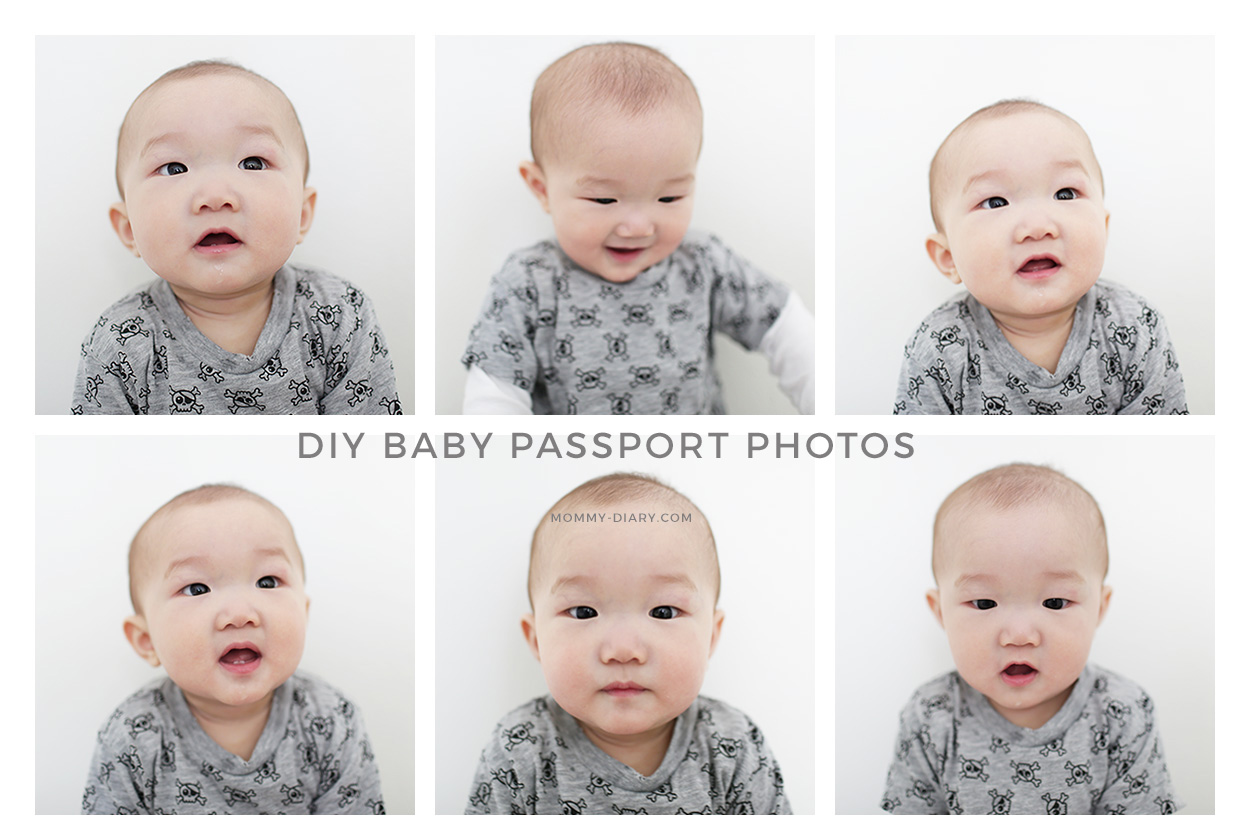
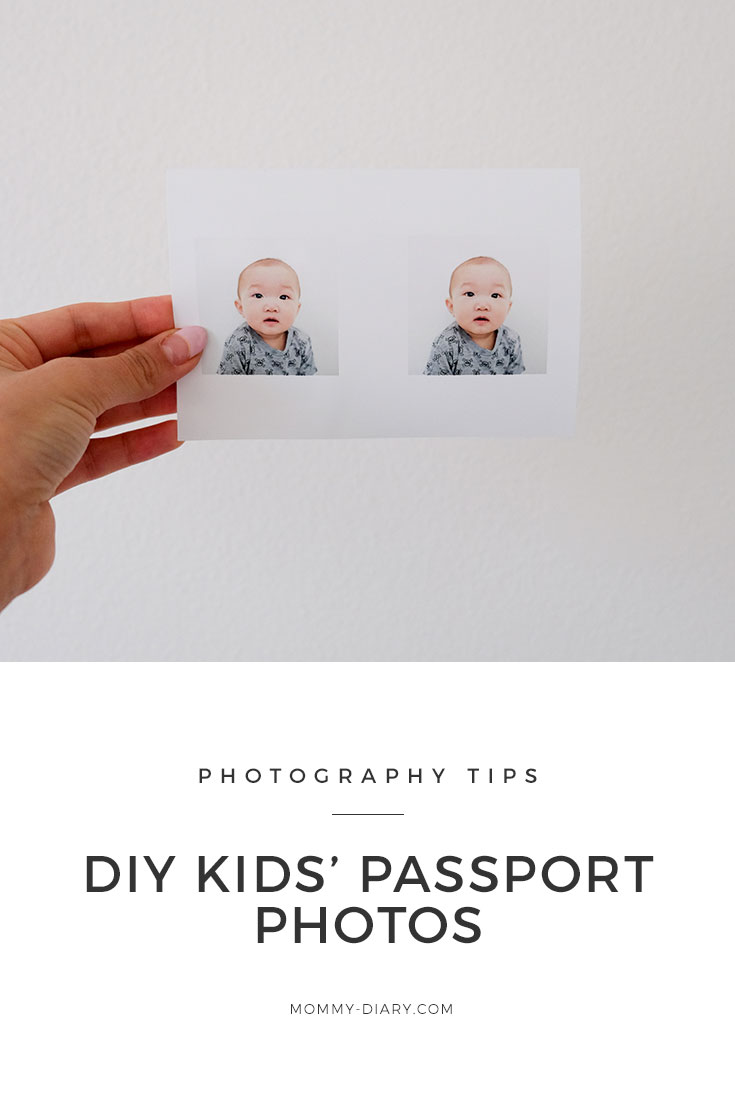
Here are some photos I got. None were perfect but I got a photo good enough for the passport. As a bonus, you can use these various expressions for a cute milestone collage of your baby or child!
If you enjoyed this post, please pin the photo below. It helps more parents find this post and helps to support this blog. If you have any additional questions about taking your child’s passport photos at home, drop them below. Thank you!
What do you think? Would you like to take your own passport photos at home next time you travel abroad?

We travel a lot, so this post was very helpful!
Thank you so much. Glad you find it useful.
I didn’t know you could do this at home! Thanks for the tips!
Yes it’s so easy to do it at home. I hope you get good results!
What a great idea! We have to get my youngest his passport and I’ve been dreading the thought of trying to take him to get his photo done. Love the fact that I can now do it from home, thank you for this!
No problem. Glad you found it useful! It’s so much easier at home. Good luck!
Those are the cutest passport photos I’ve ever seen!! All of these are great tips!!
Thanks so much. I hope you found them useful!
Very helpful post! They turned out super cute!
Thank you so much!
This is a really smart idea!! All these tips are so helpful!!
Wow, who knew this was so easy! I’ll definitely do this at home myself next time.
Yes it’s so much easier than we think. We got his passport and it turned out good!
I didn’t know that! I need to get my kids passport photos so I am glad I found this!
How cute are these photos!? Bon voyage!
Hey Angela!!! Long time no see!!! So glad to see how life has turned out… OMG that beautiful baby!!!! am in love!!!!
XOXO