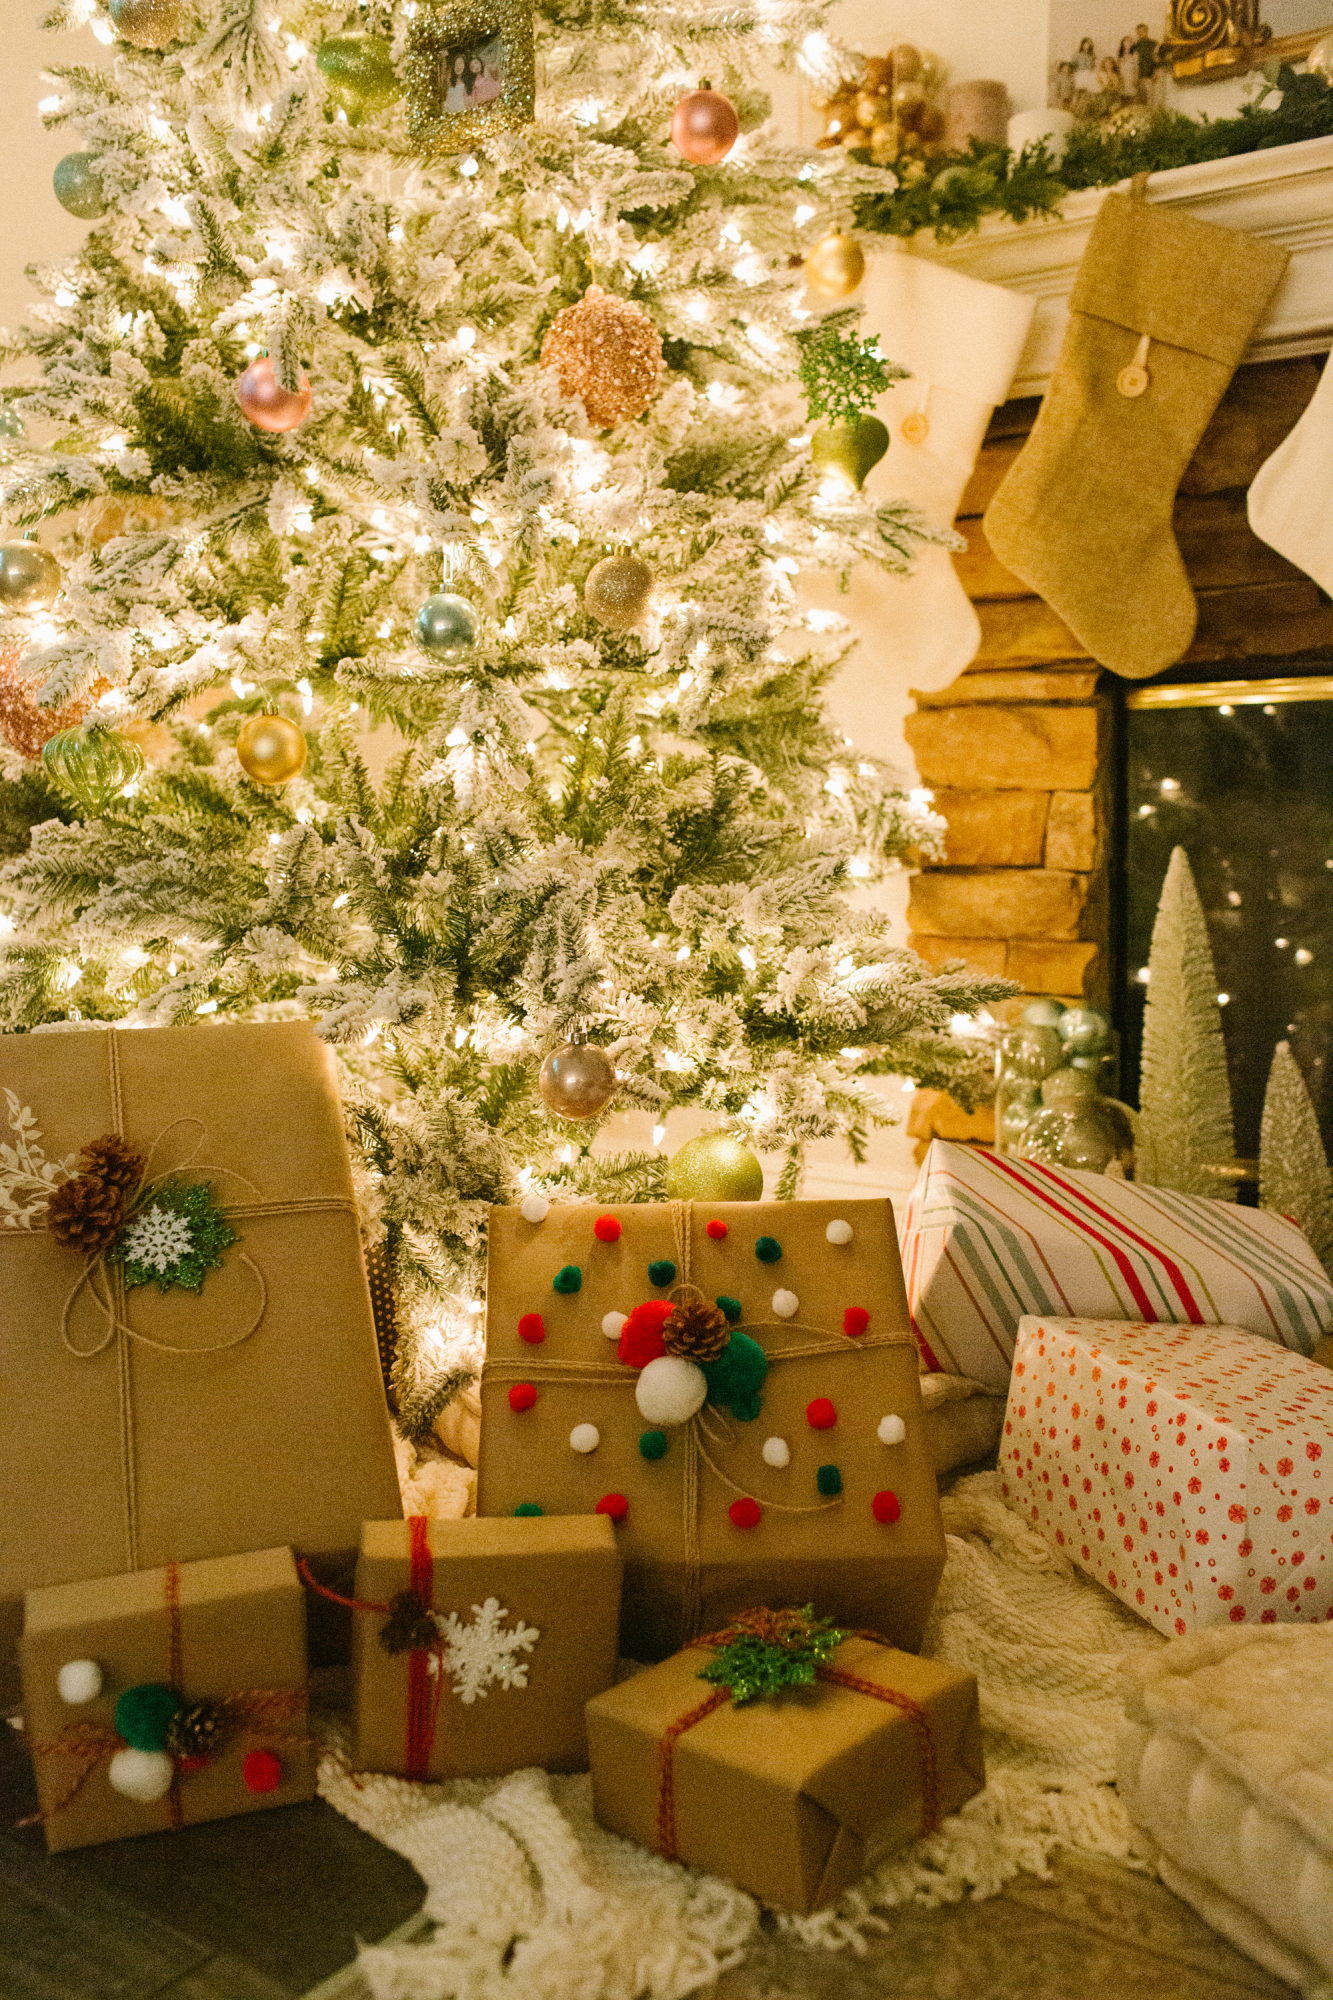
One of my favorite parts of Christmas is watching my kids unwrap their gifts on Christmas morning. The excitement you see in their eyes and the element of surprise brings me so much joy!
However, it can get quite costly to purchase different types of wrapping paper, premade Christmas bows, tissue paper, gift bags, and assorted ribbon.
Therefore, my timeless wrapping hack is using thick kraft or butcher paper and dressing it up with various Christmas themed items. You can use this wrapping paper during the holidays, and can continue to use this throughout the year for another Christmas craft or for wrapping birthday gifts, anniversary gifts, and so on!
Not to mention, it is 100% recycled paper and much better for the environment than the typical wrapping paper you see at stores.
I love that this holiday gift wrapping hack allows you to be creative. Each gift is unique and no gifts ever look exactly the same!
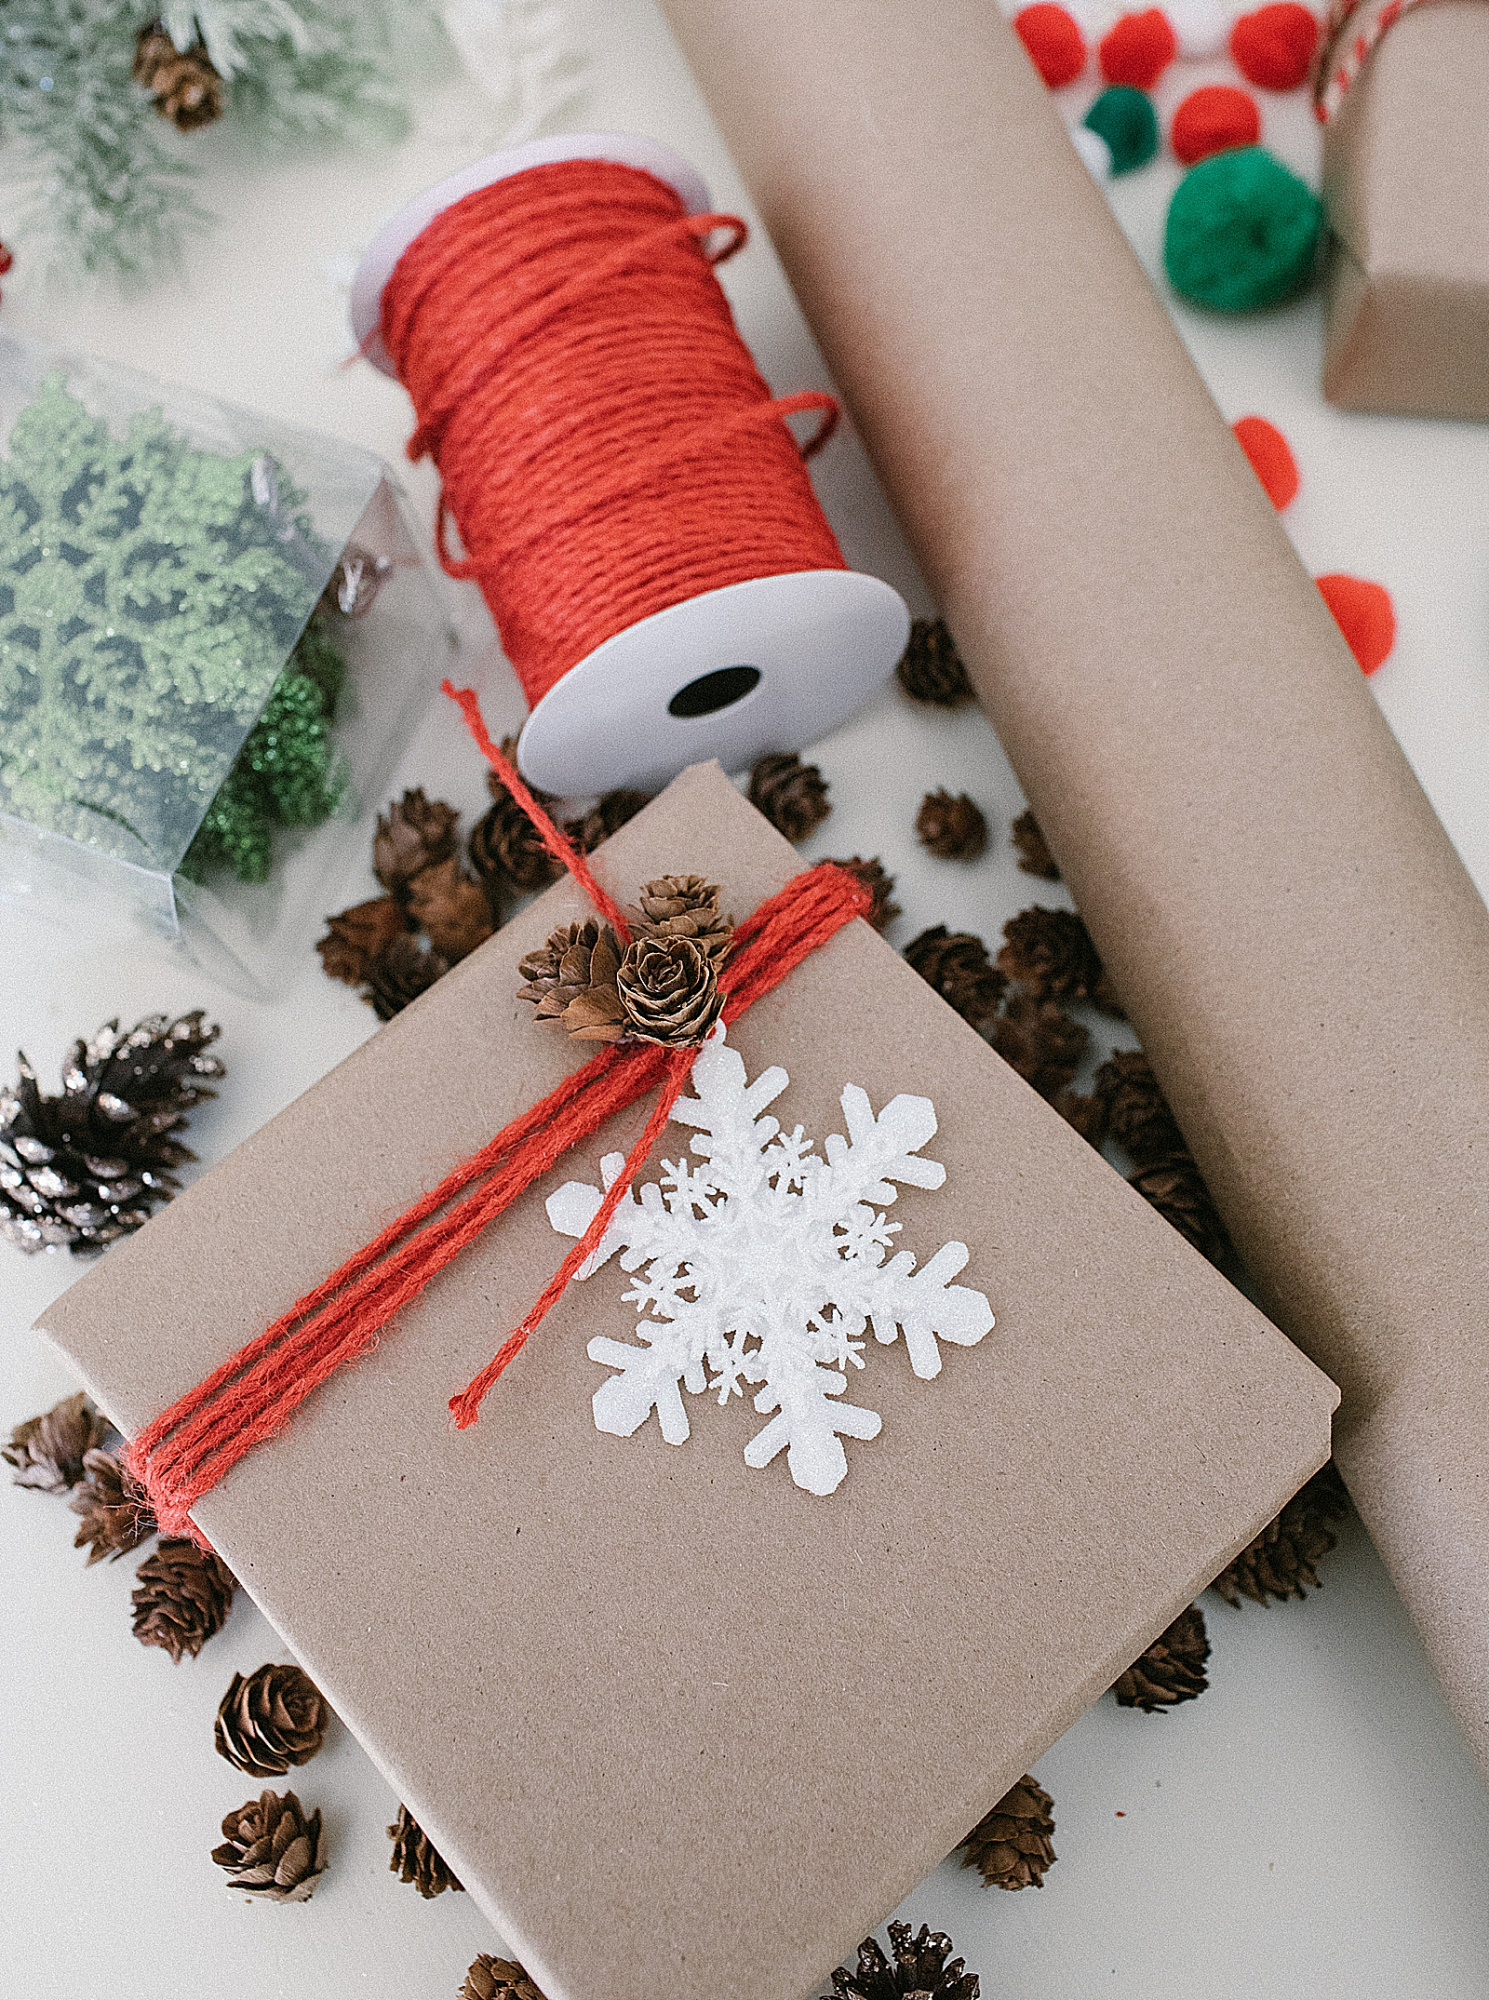
Easy & Affordable DIY Gift Wrapping Ideas
Items needed
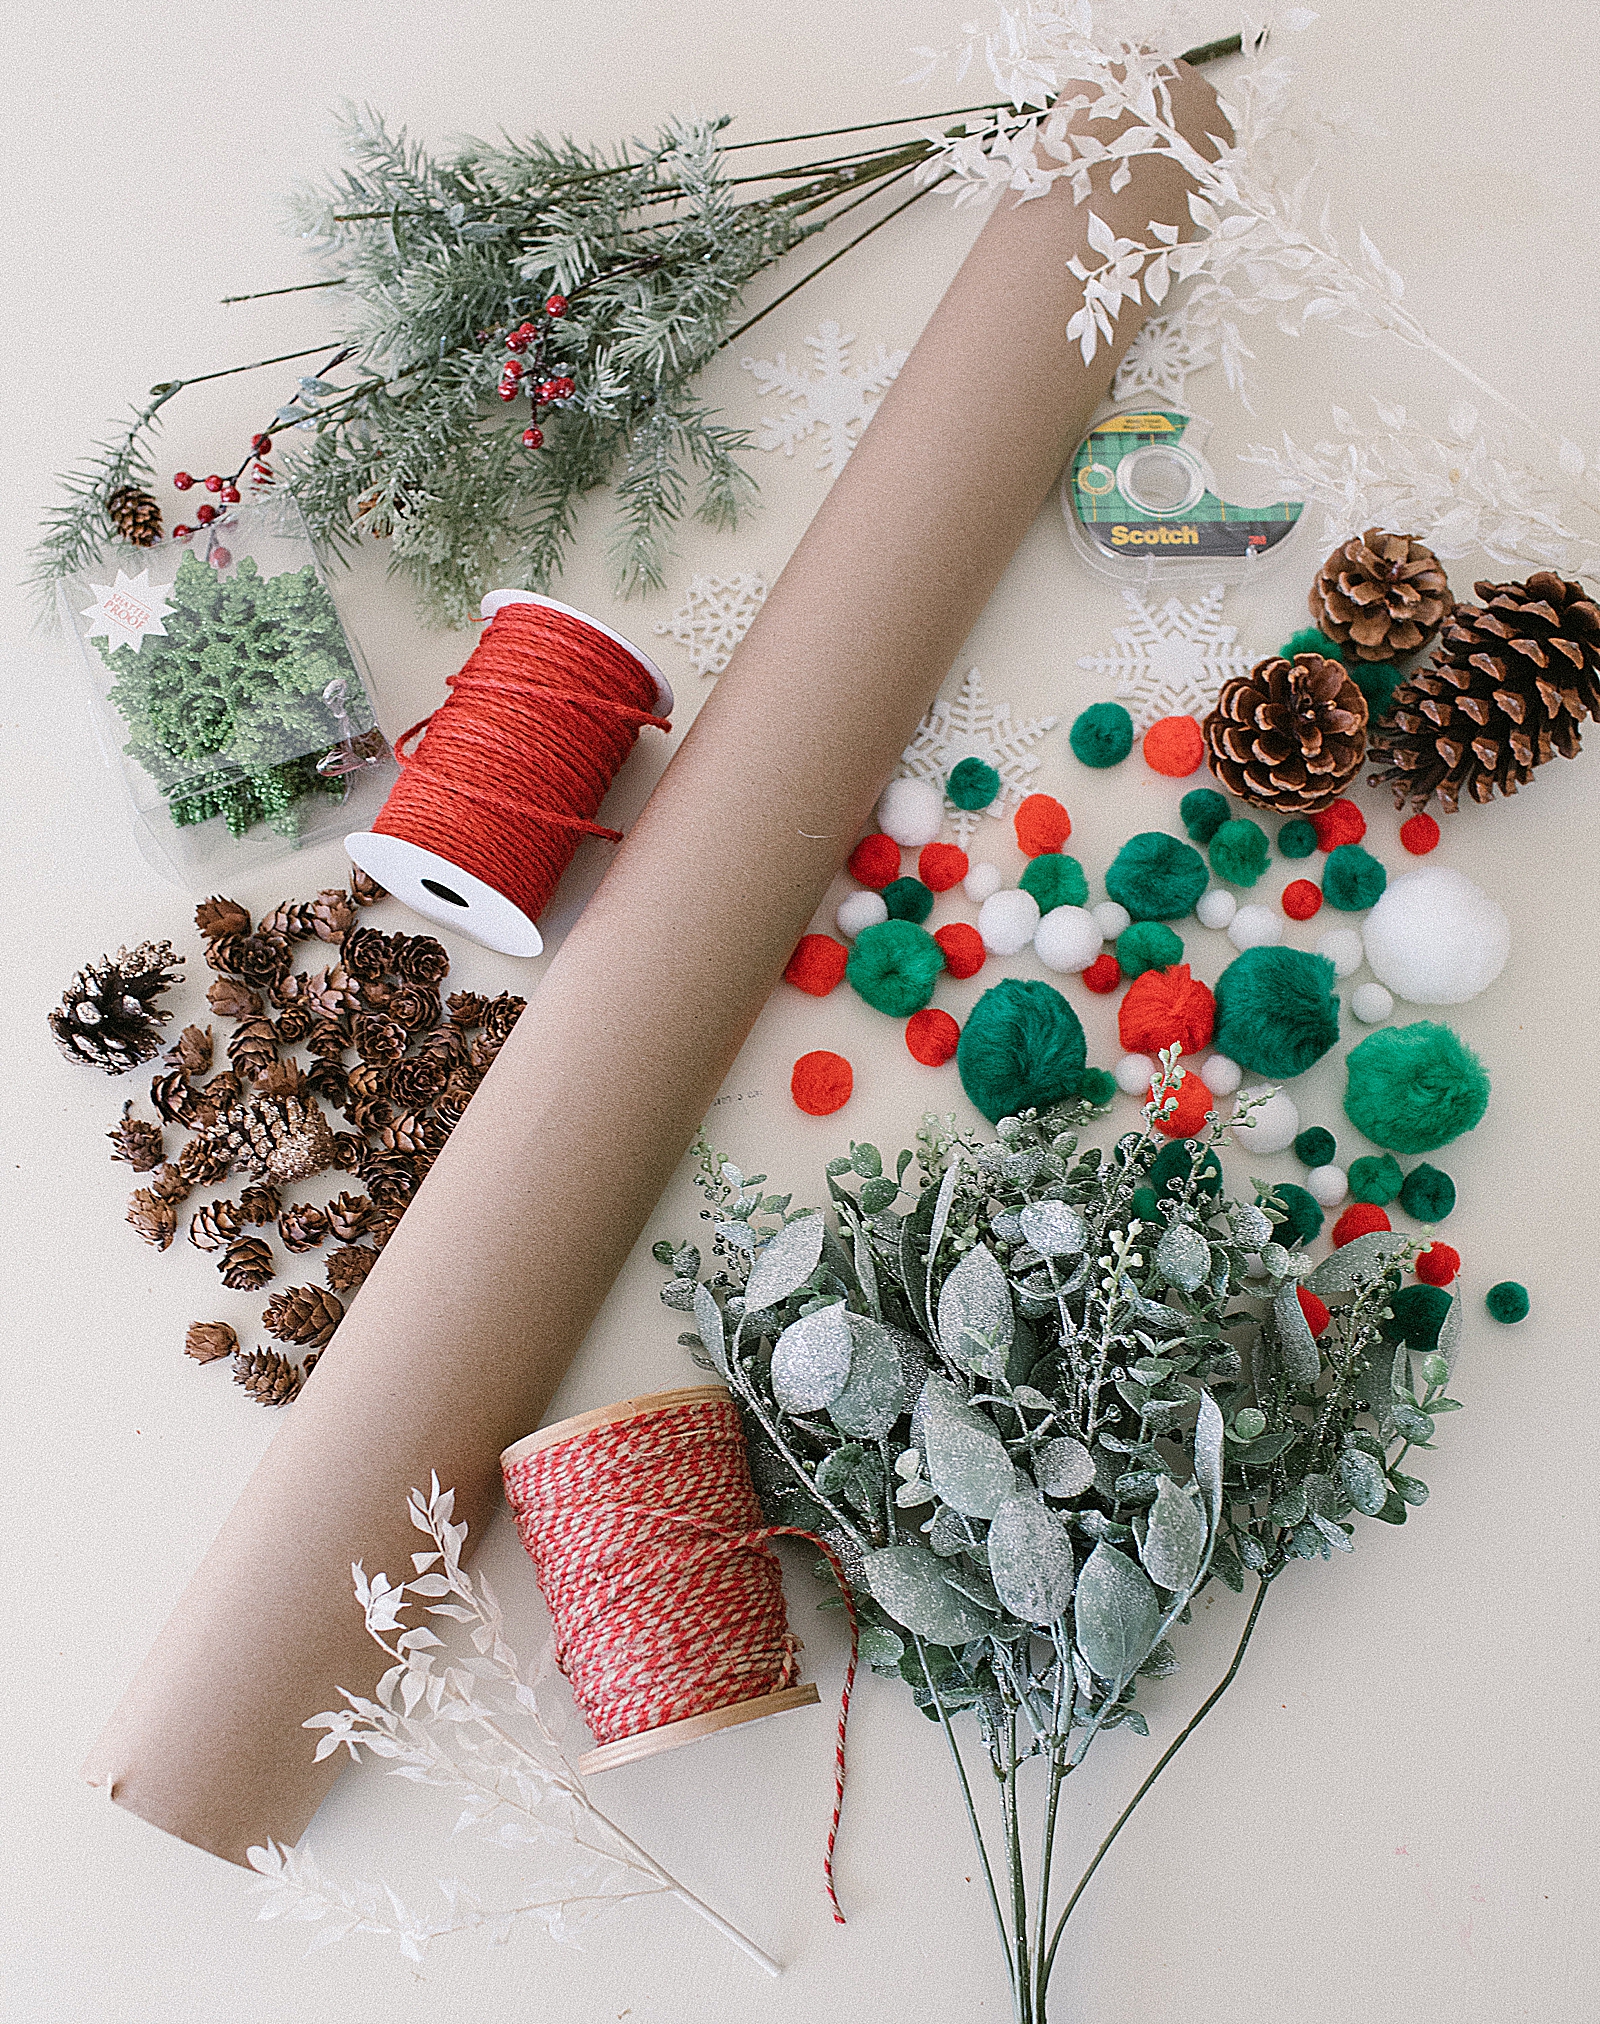
- Scotch Postal Wrapping Paper
- Clear Tape
- Assorted Twine:
- Assorted Snowflake ornaments (any sort of affordable flat ornaments work too):
- Assorted sized small pinecones
- Glue Gun
- Scissors
- Christmas Colored Pom Poms
- Bleached and Dried Italian Ruscus (or any of your favorite dried florals will work too)
- Dried Bunny Tails
- Dried Eucalyptus
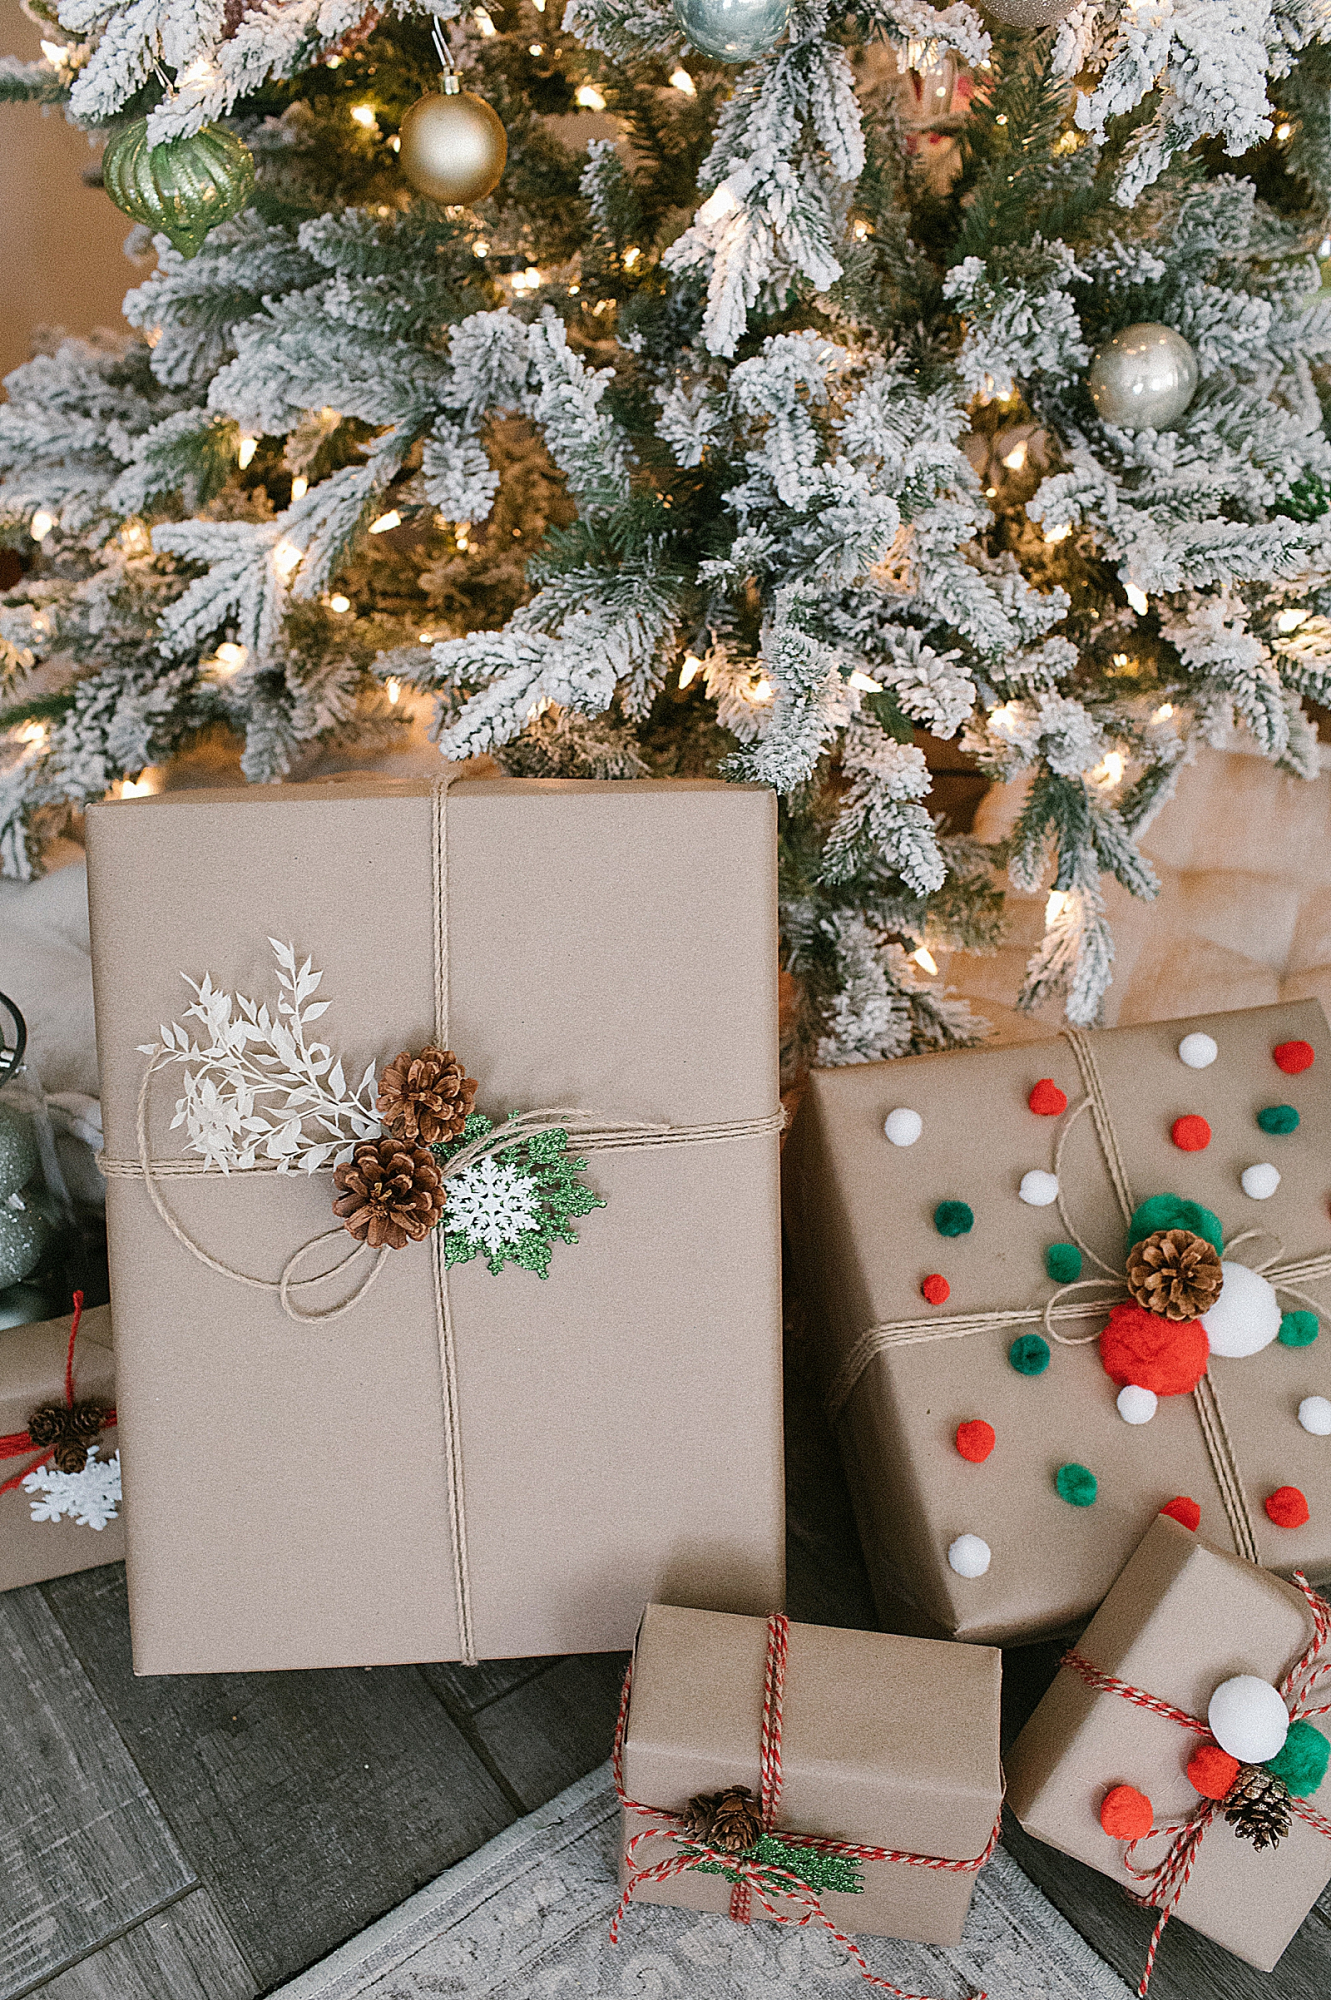
Here is a step-by-step guide to achieving a similar look.
1. Wrap your box in the Scotch Postal Wrapping Paper.
You can use any sort of thicker kraft or butcher paper. I like the Scotch Postal brand, because it’s thick enough to not crease or rip as easily when you are folding the edges down. Yet it’s forgiving, especially if you are not the neatest gift wrapper.
2. Wrap twine around the box.
This is where you can start to get creative with your design. Sometimes I will wrap it around the gift multiple times in one direction either horizontally or vertically, or I will wrap it both horizontally and vertically multiple times. And don’t worry about perfectly centering the twine either, as it looks cute if you mix it up and wrap it off later. Getting multiple types of twine allows you to mix up for every gift.
3. Tie a cute flat ornament onto the gift with the twine.
I used assorted glitter snowflake ornaments and even glued different colored ones on top of each other for some contrast in the design.
4. Glue assorted sized pine cones at the knot for some depth.
This is an affordable and easy way to make your gift stand out from the typical ribbon bow.
5. Have fun with it!
I love to play around with tucking in dried bleached florals underneath the bow. Although dried eucalyptus is a classic option to add, as it is green and really fits the winter theme, I love playing around with the dried bleached florals. The lighter color elevates the look and it’s something that the person receiving the gift can keep and put into a small bud vase as additional neutral home decor.
Another fun option is glueing on various sized Christmas colored pom poms around the top of the box. On some of my gifts, I added mini pom poms on the top of the box and instead of tying an ornament at the knot, I glued some larger sized pom poms.
Feel free to play around with the different ornaments, twine colors and any of the additional suggested elements you decide to add. And don’t forget about these supplies when it’s time to wrap other gifts throughout the year! You can still use the neutral colored items and dried florals to create a beautifully wrapped gift that is not Christmas themed at the same affordable price!
Bonus Tip: How To Wrap Odd-Shaped Gifts With Brown Paper
Although the above guide works great for wrapping boxes, you’re bound to come across a gift that can’t be placed in a box before wrapping. Rather than spending money on gift bags, you can wrap even the most oddly-shaped gifts using the same kraft paper or butcher paper as you did for the rest of your gifts.
To wrap a round or odd-shaped gift, you essentially want to create a paper bag with your brown paper. Here’s how to do it:
- Pull out a rectangle of kraft paper that is long enough to fit the gift inside when the paper is folded in half. Unfolded, the rectangle should be about twice as long/tall as you need the bag to be.
- Place the paper on a flat surface, then fold in the sides until they’re slightly overlapping, then tape or glue them together.
- Fold the bottom of the bag upward several inches, press to create a crease, then unfold.
- Open the top layer of the bottom fold and flatten each corner to make triangles on either side. Press to create creases.
- Fold the top and bottom pieces toward the middle until the overlap slightly, then tape or glue them in place.
- Sit the bag upright, place your gift into the bag, add tissue paper (optional), then close the bag by making a fold on top.
- Decorate and voila!
